The Build
My Projects
A 1975 Trillium trailer, a few flea-market finds, and a lot of elbow grease. Jump straight to a project:
Screen Door
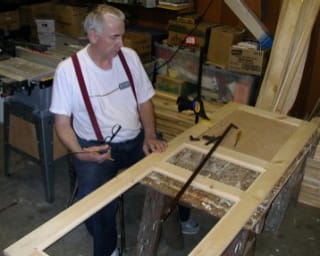
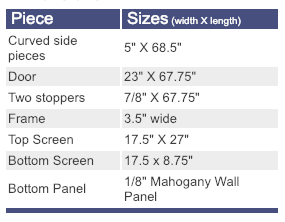
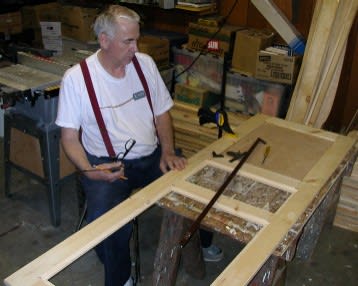
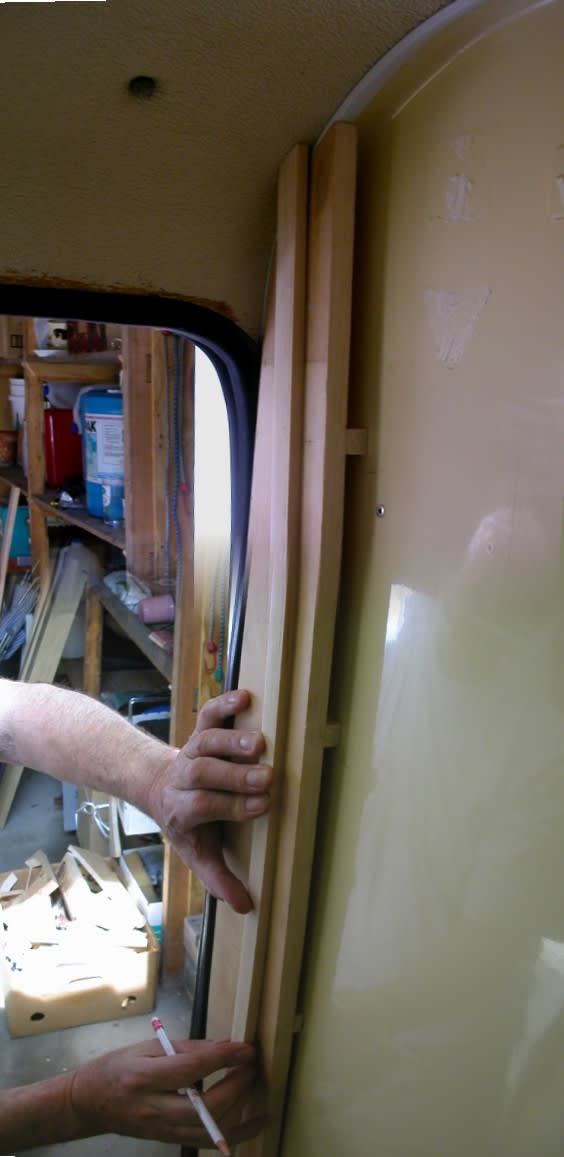
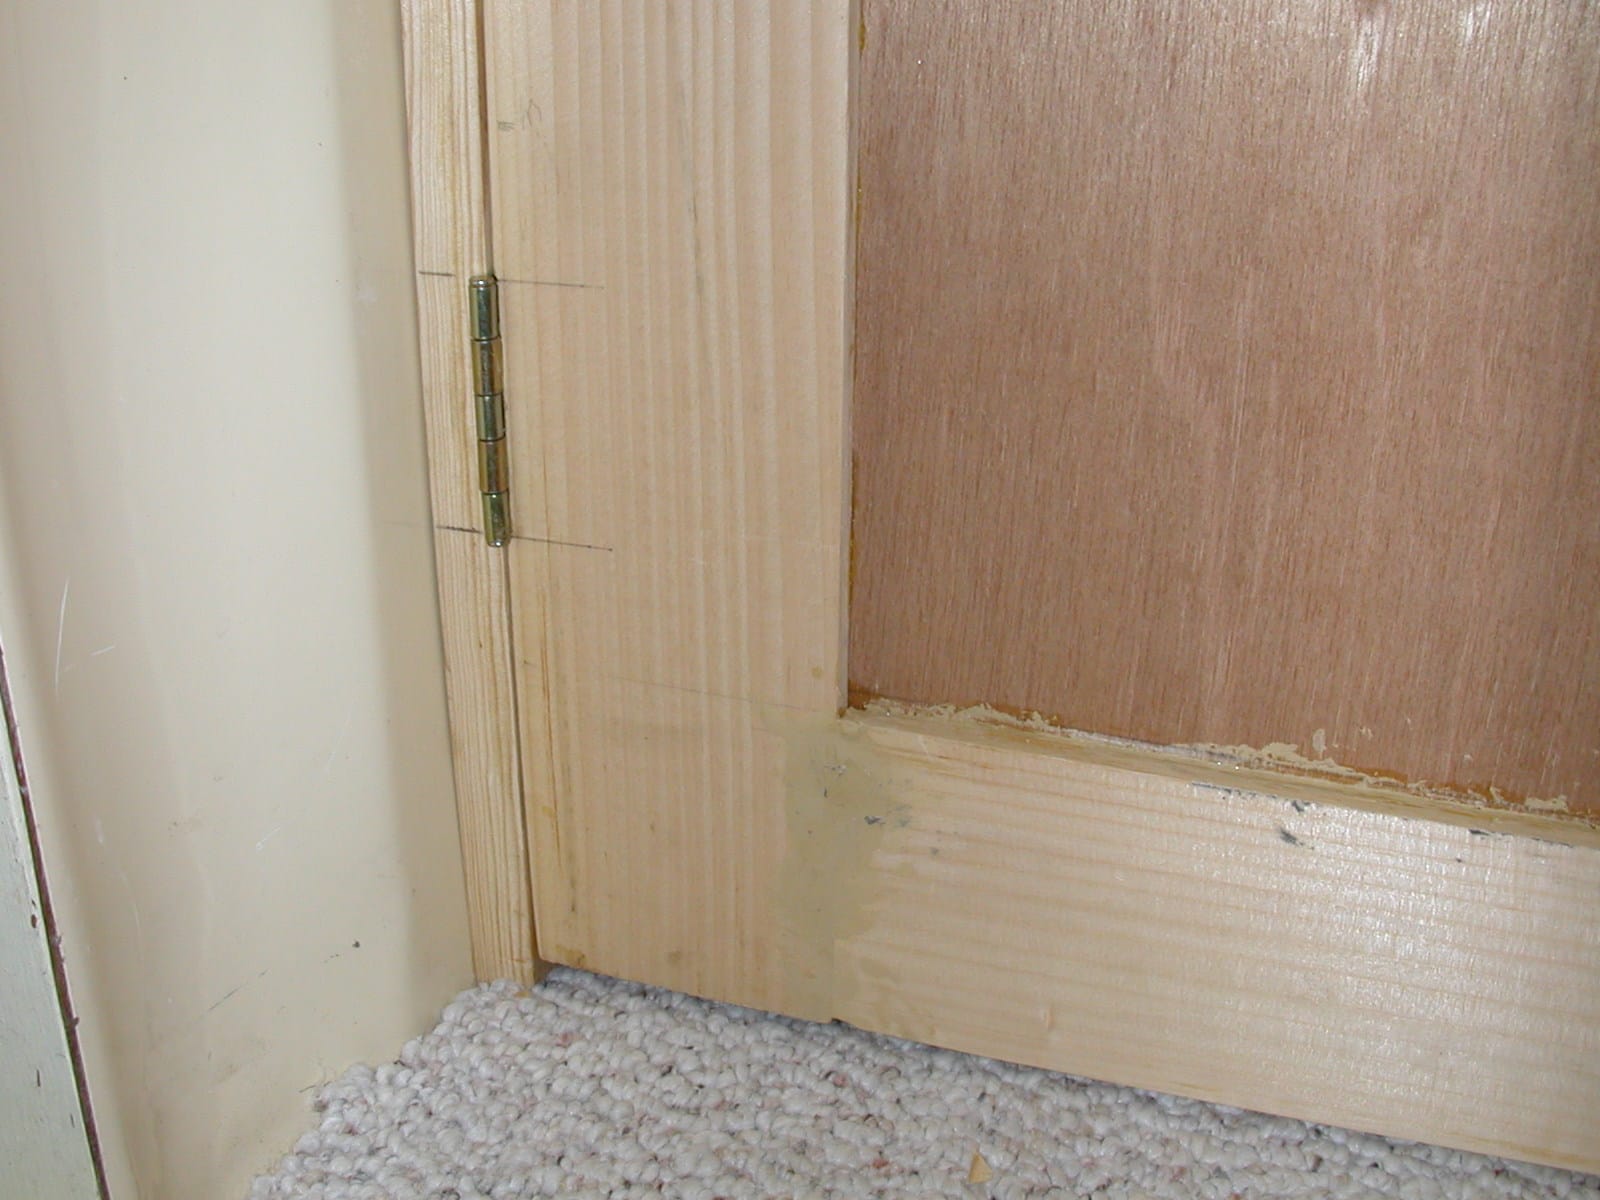
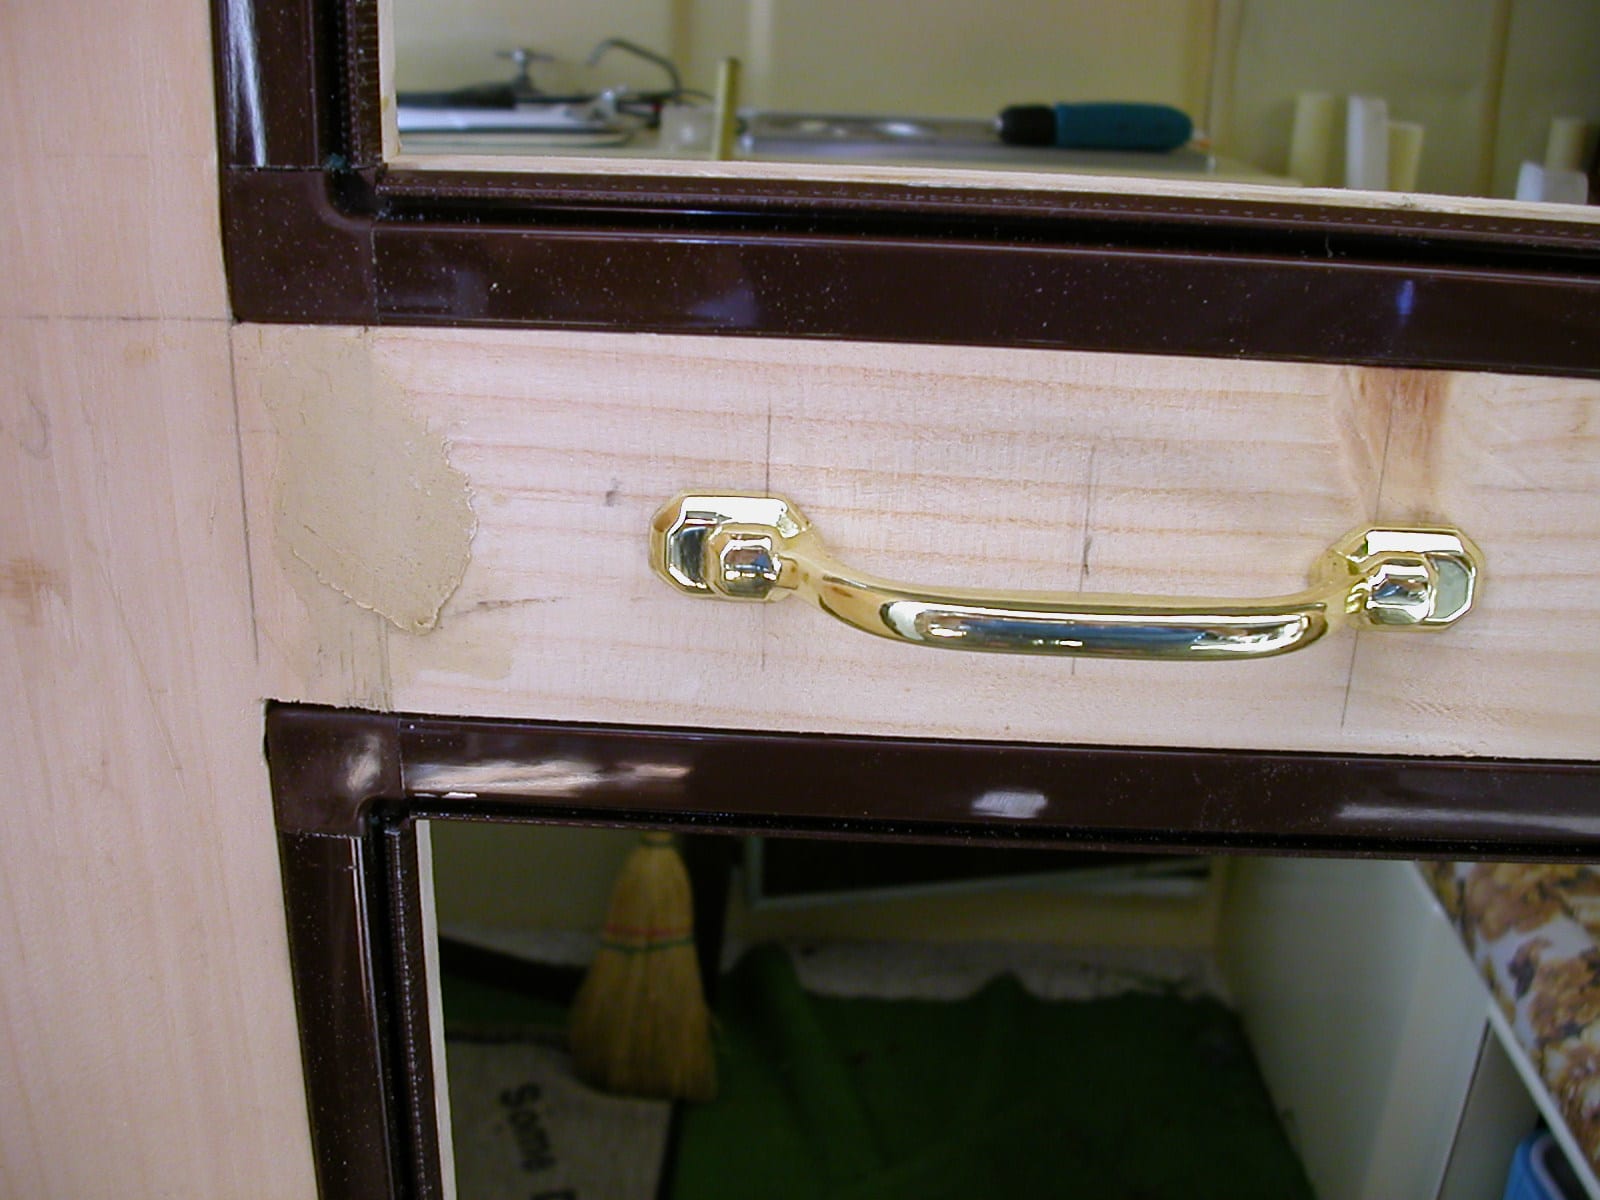
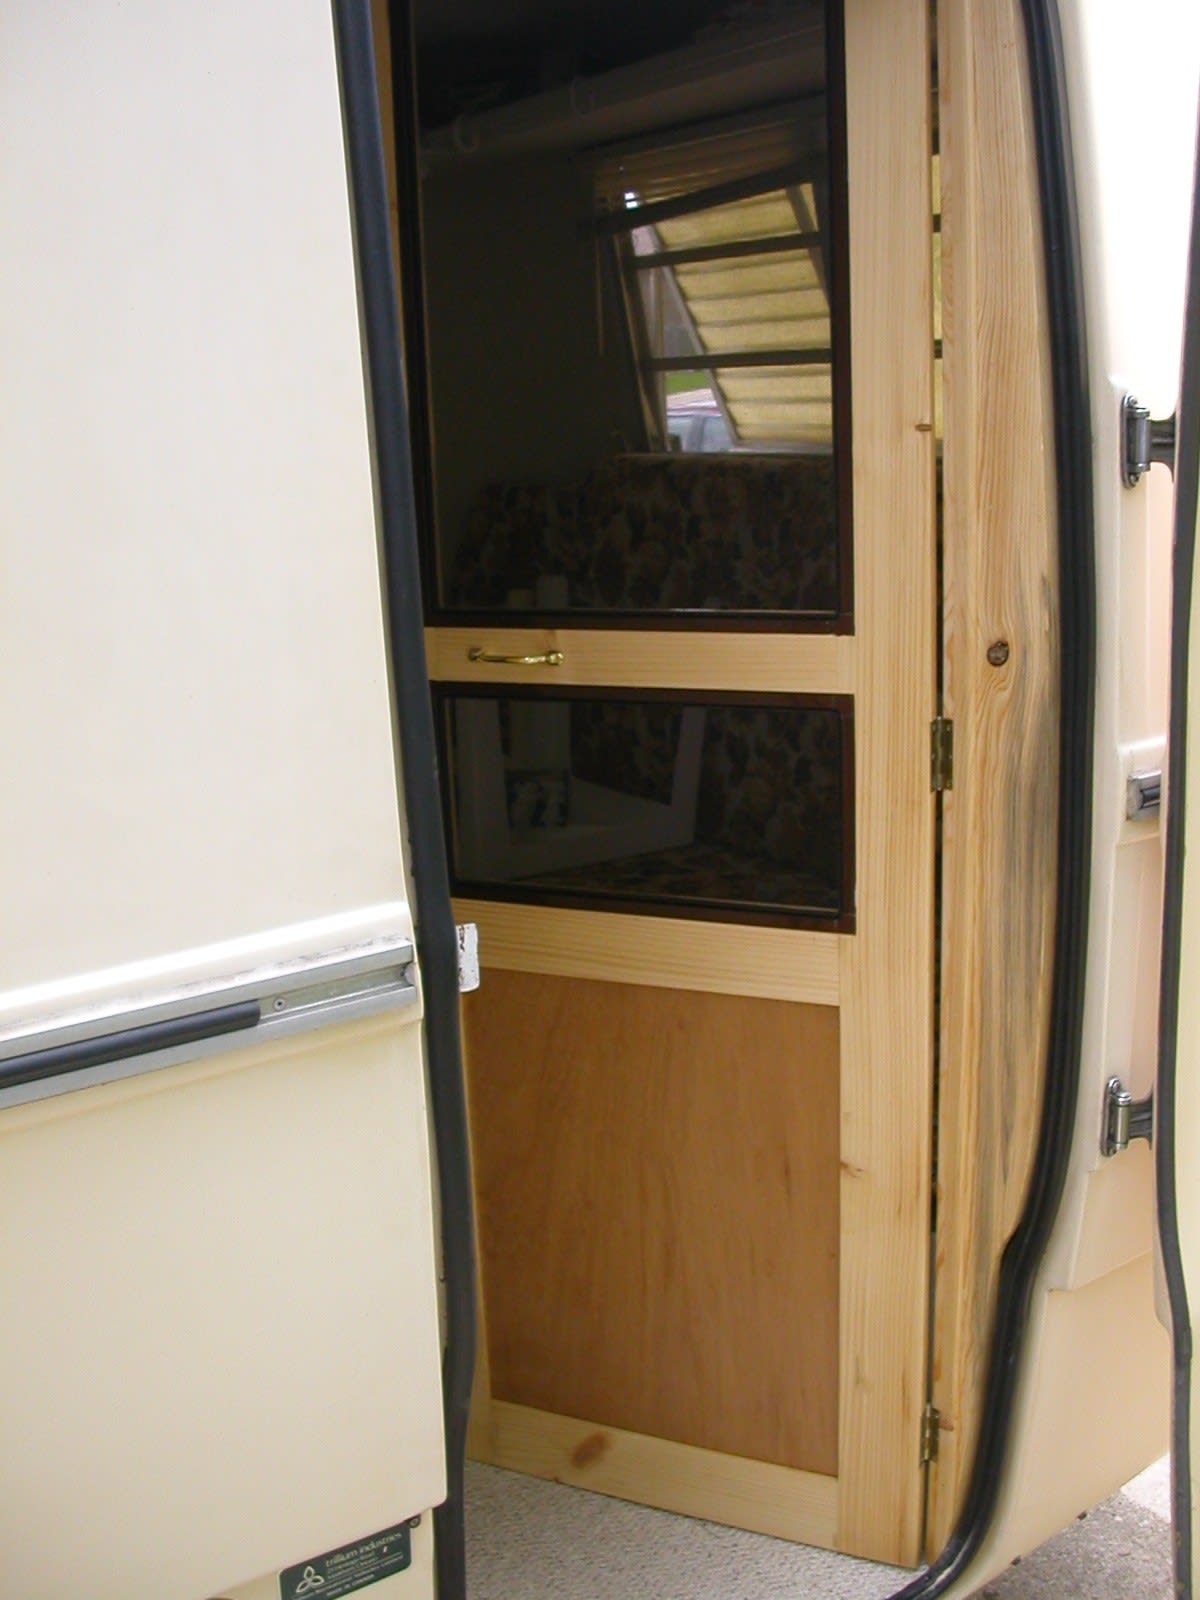
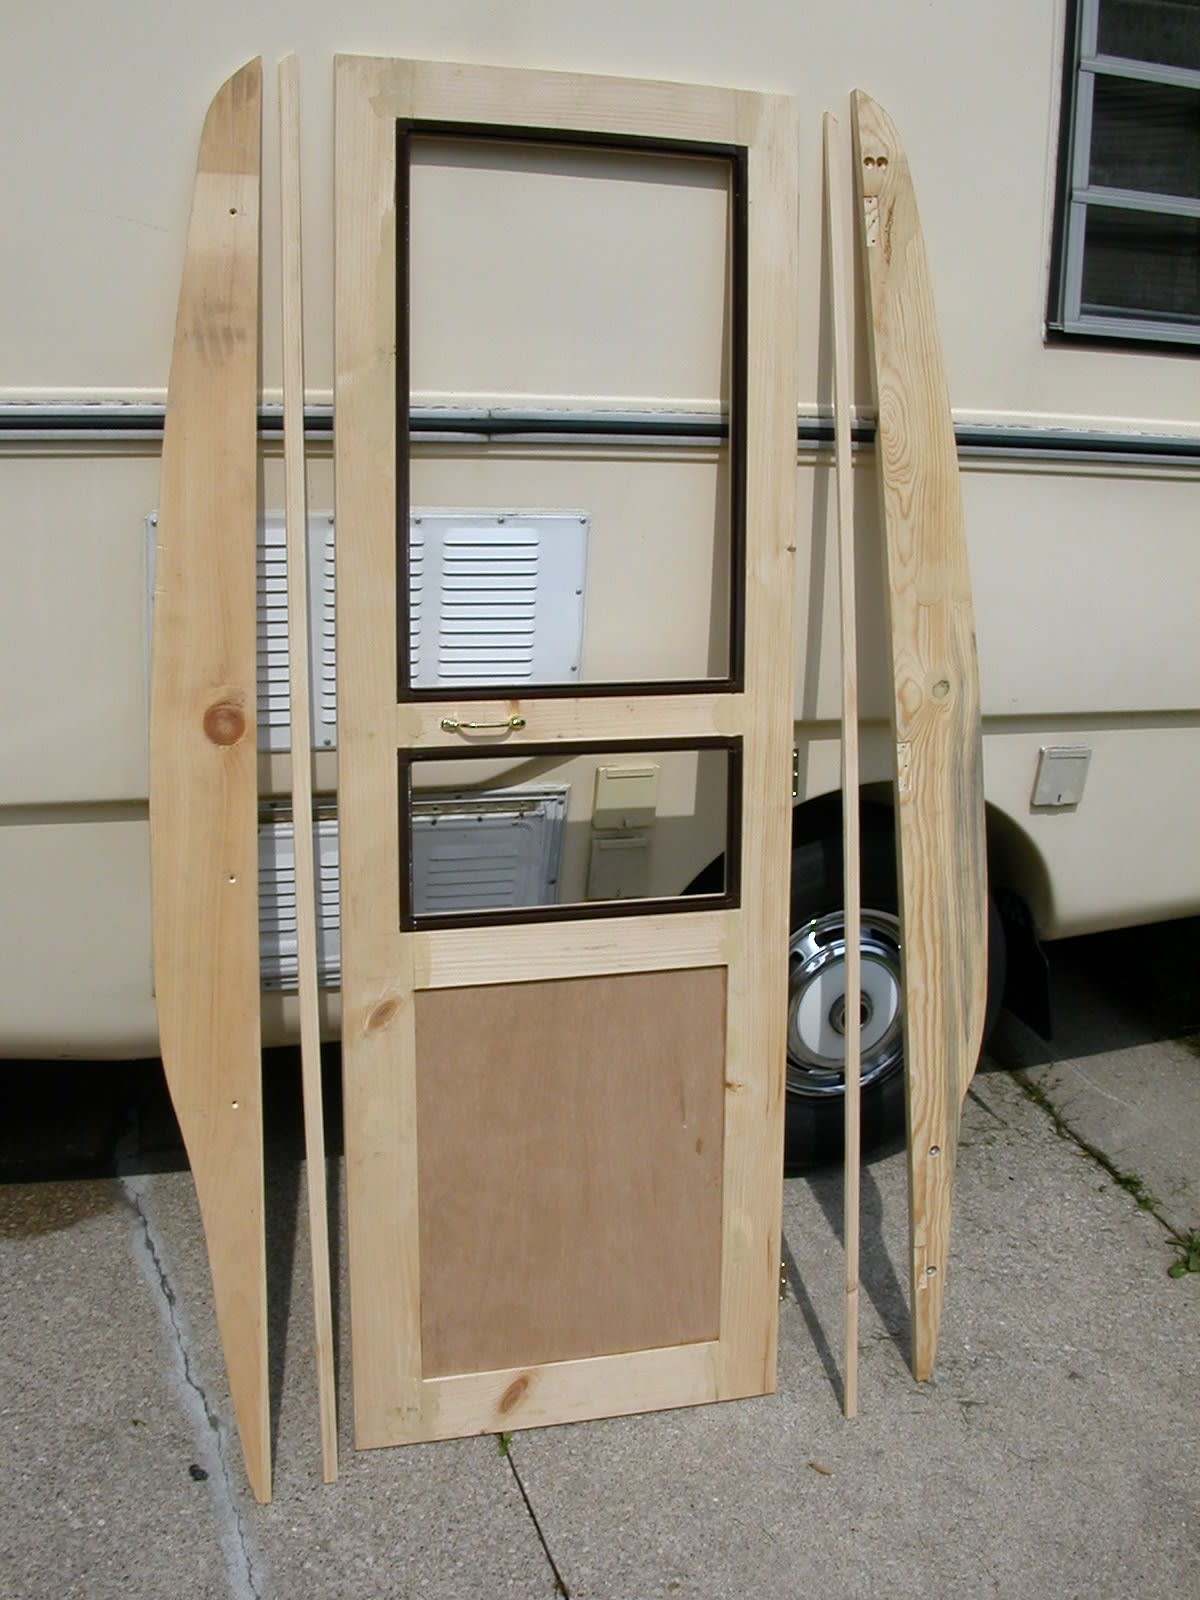
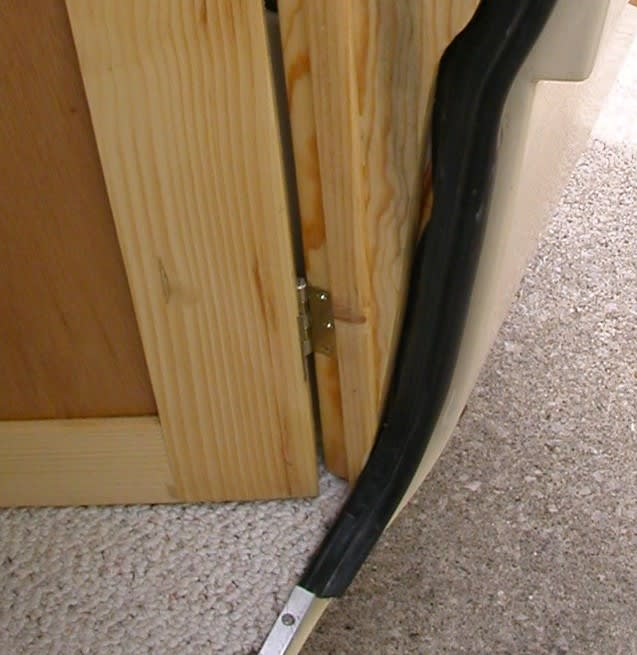
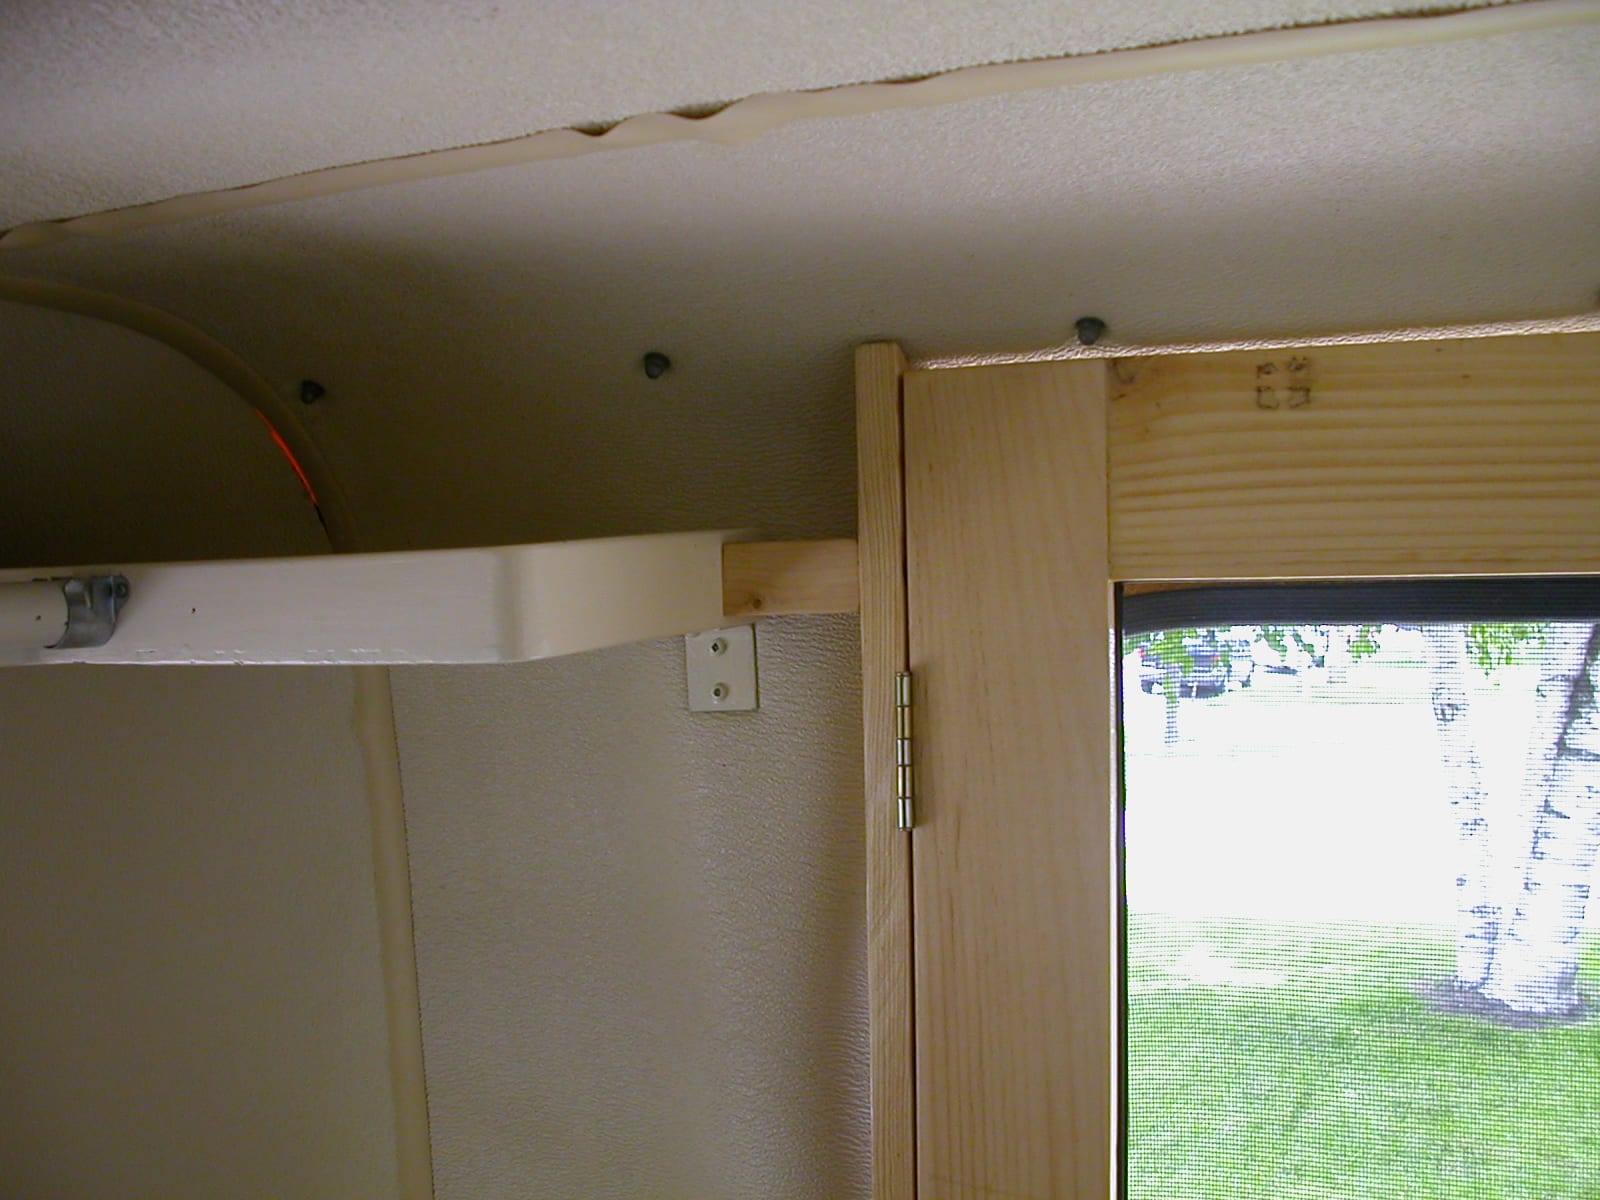
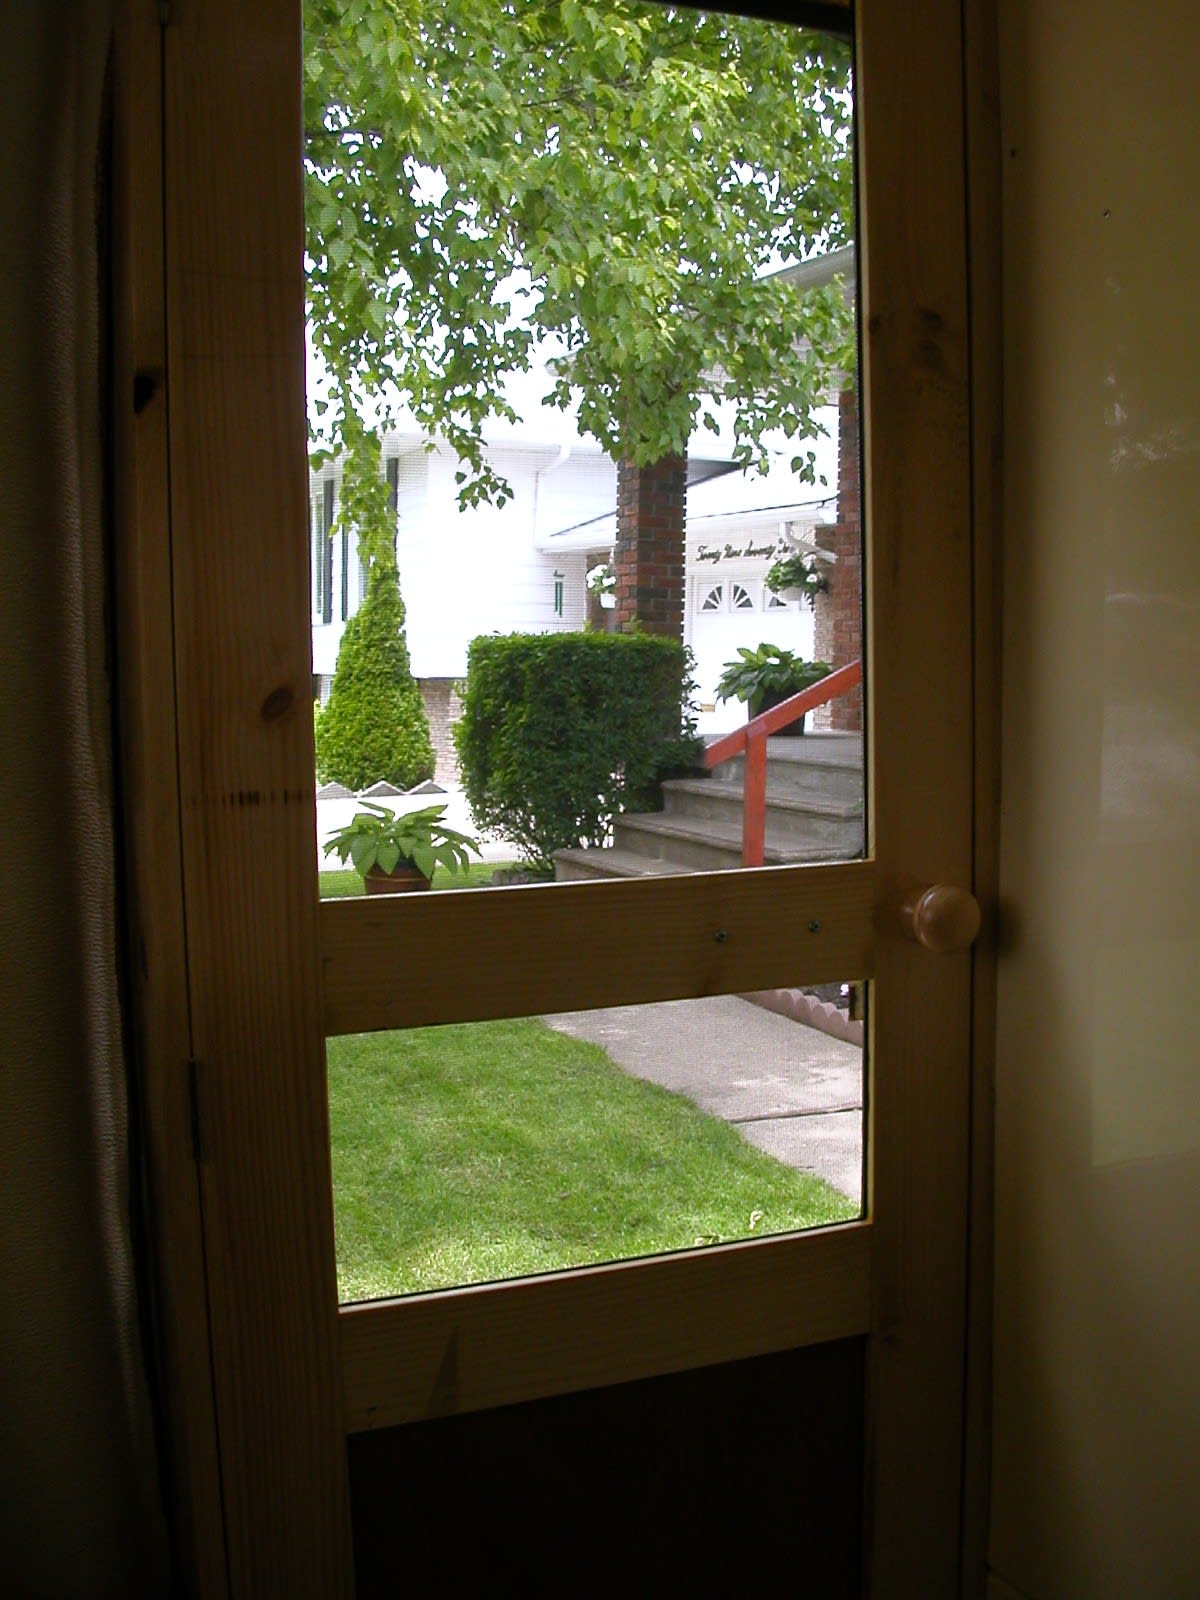
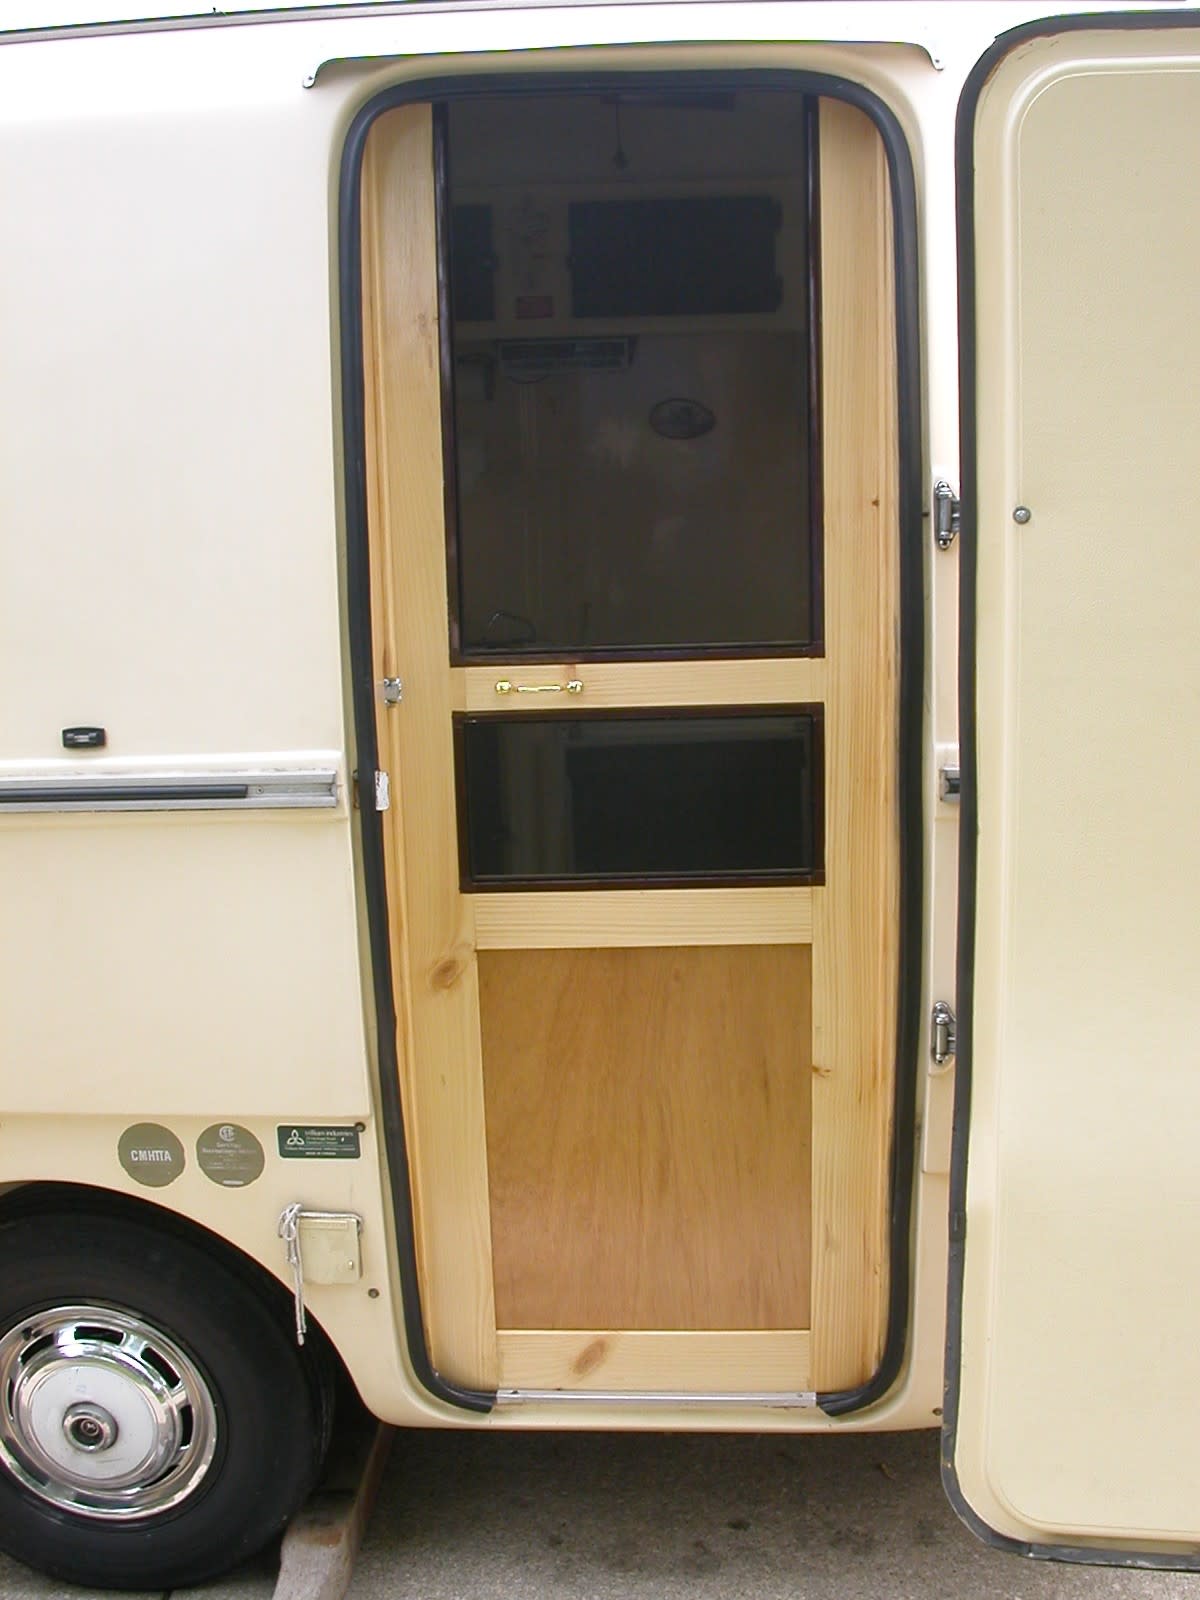
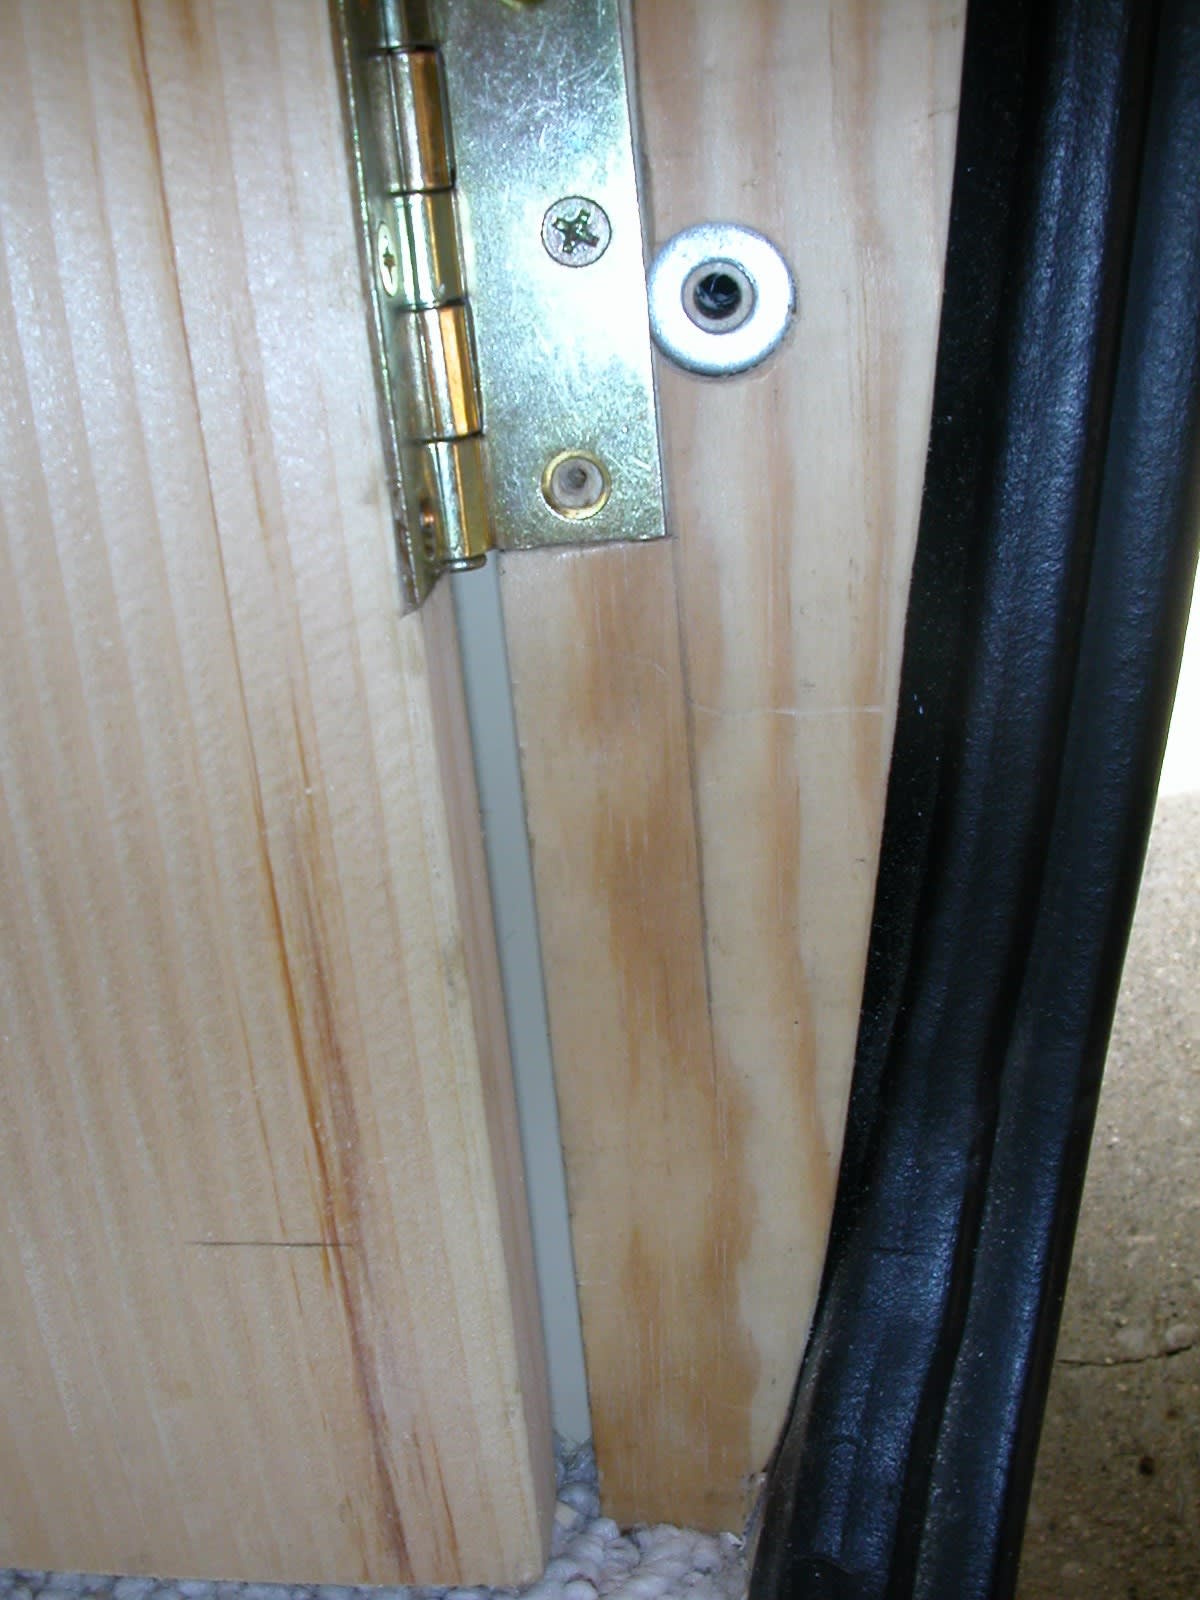
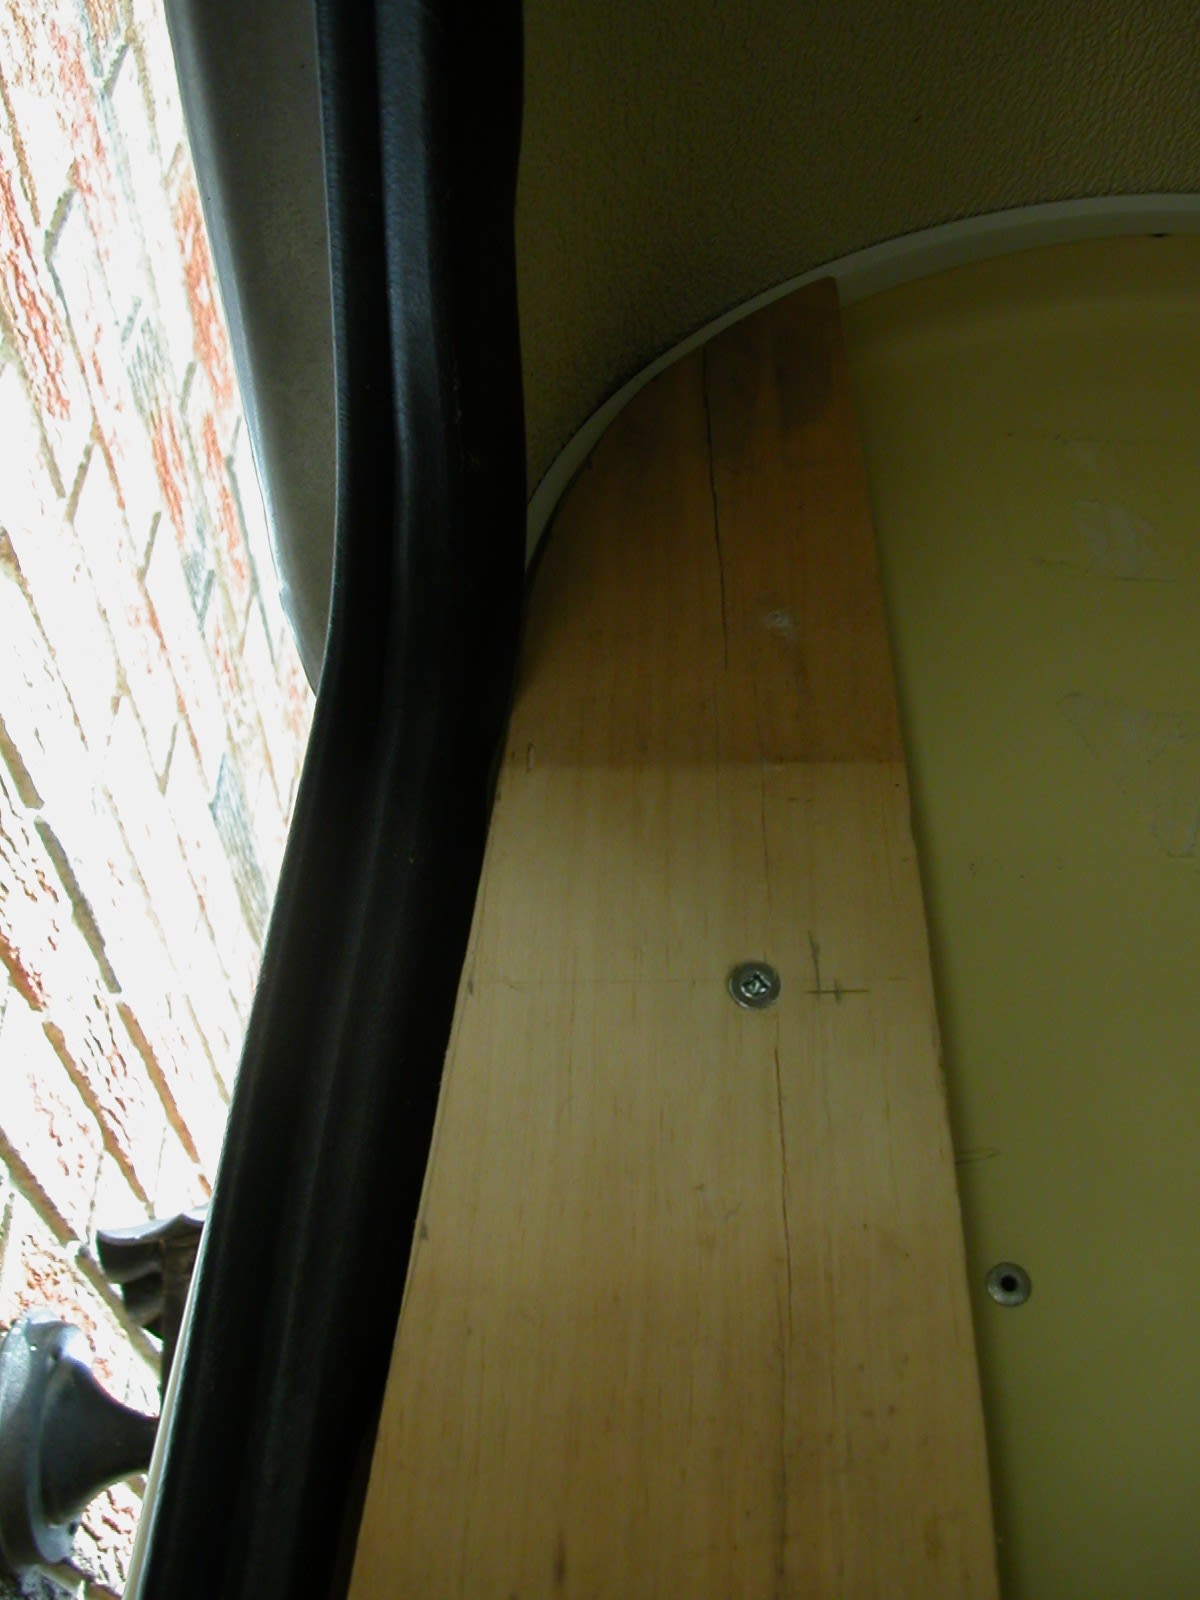
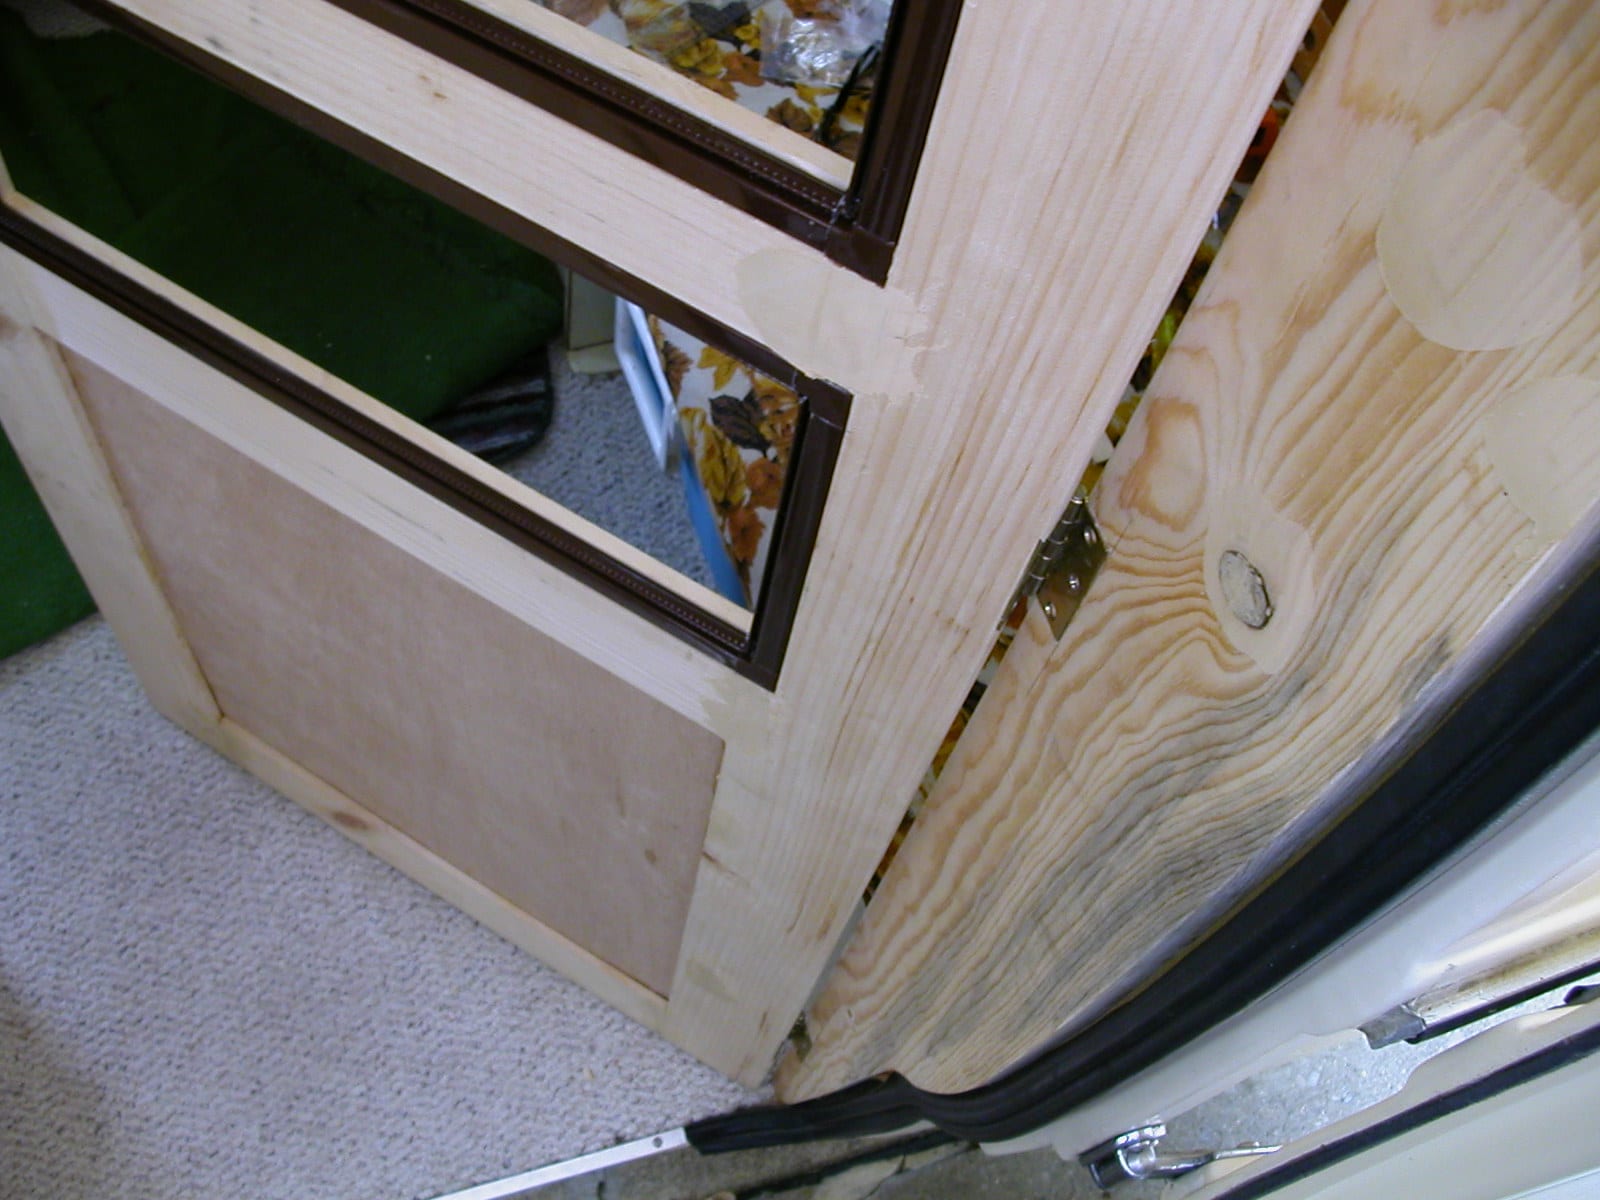
Make sure the trailer is level before you start. There are four crossbars in the door, counter-sunk 1 inch into the side frames — this gives the door stability. Measurements are unique to trailers. No nails are used; everything is glued. The bottom panel adds to structural integrity, which is why there is no screen on the bottom. Three hinges hold the door. I used a small latch with two rollers to keep the door closed. Use 4 coats of Varathane Clear Waterborne Outdoor for protection. Once the two side pieces are secured in place, take the final measurements for your door size.
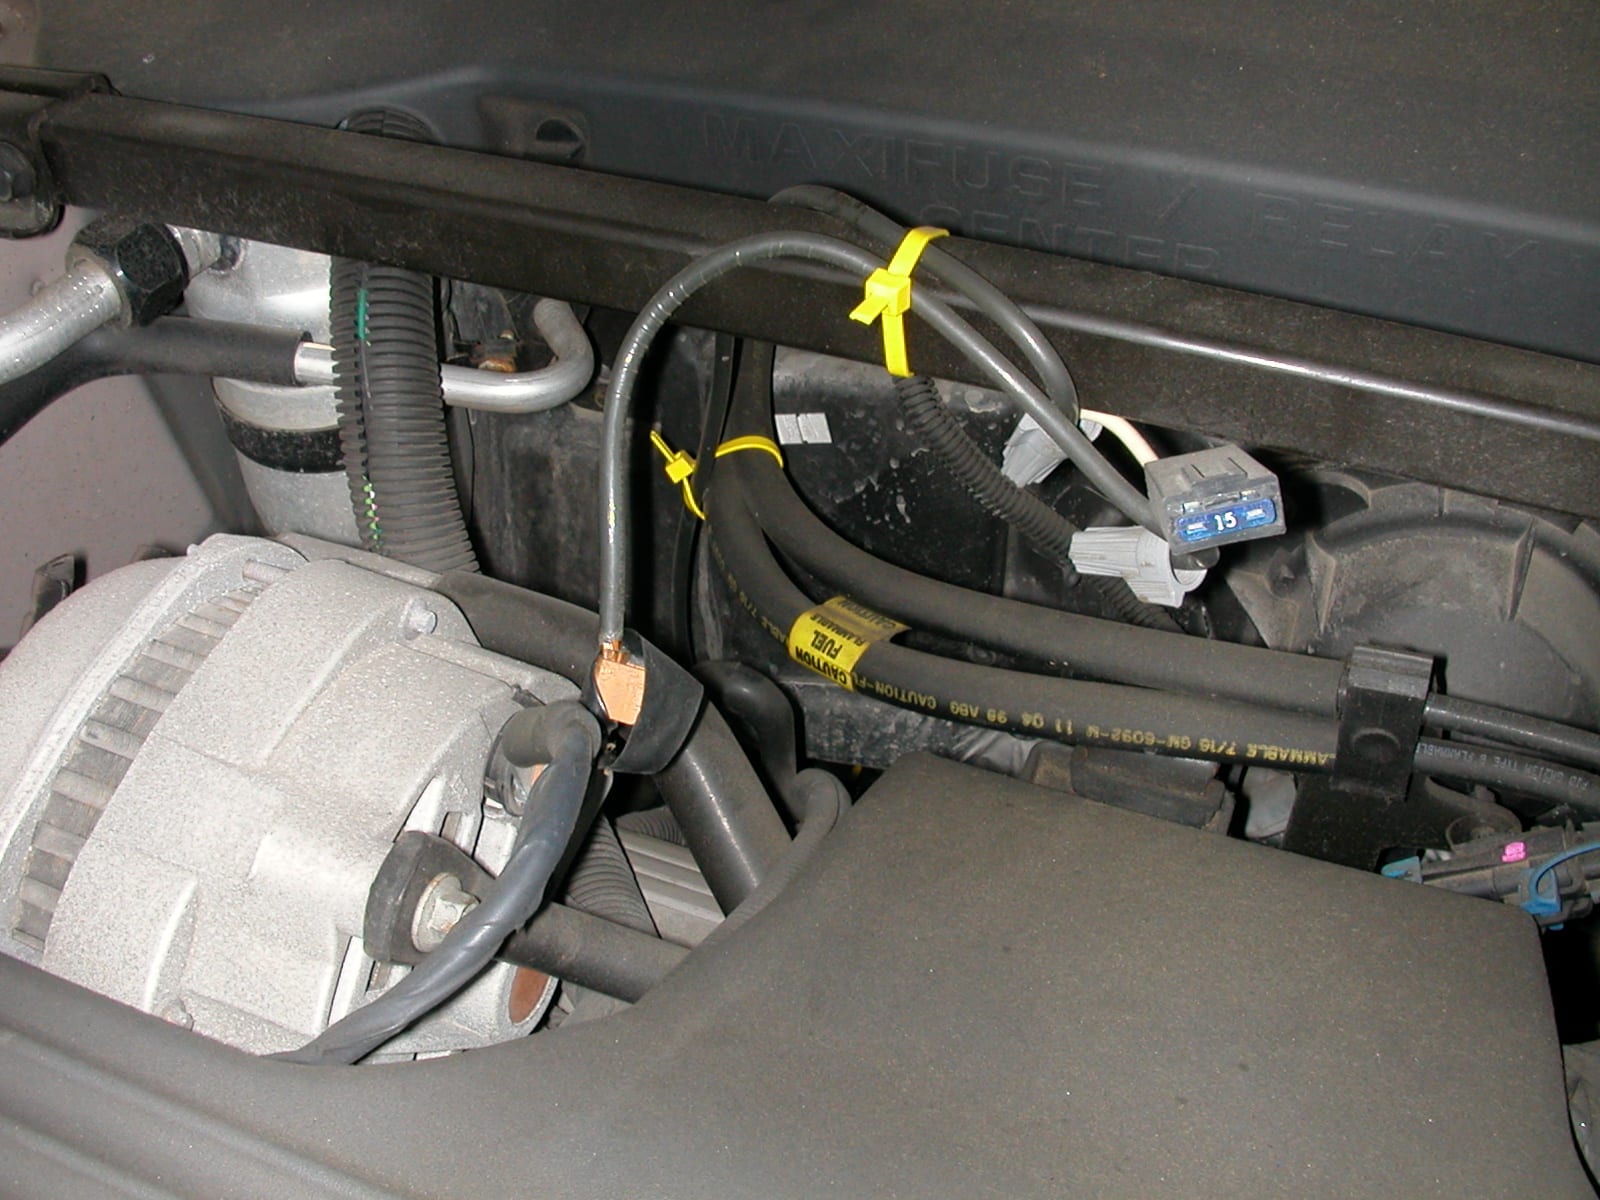
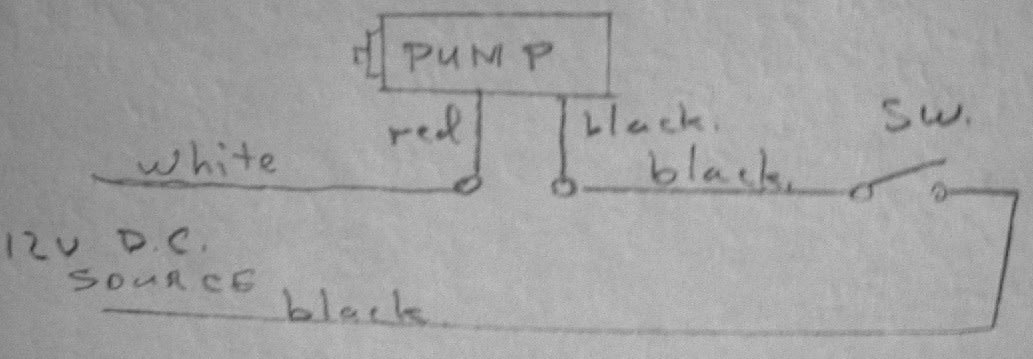
12V DC Power Source
WARNING: check with a qualified automotive technician if you have questions about connecting live wires. You can now set up your trailer 25 feet away from your car and still have power! I use the power for lighting, or for my water pump. Keep in mind that you should not let your car battery discharge — I've used my power source for 2 days before recharging the car battery.
If you have any questions or would like to know more, find me on the Boler website and contact me, “Gord100”.
Shorter Wheels
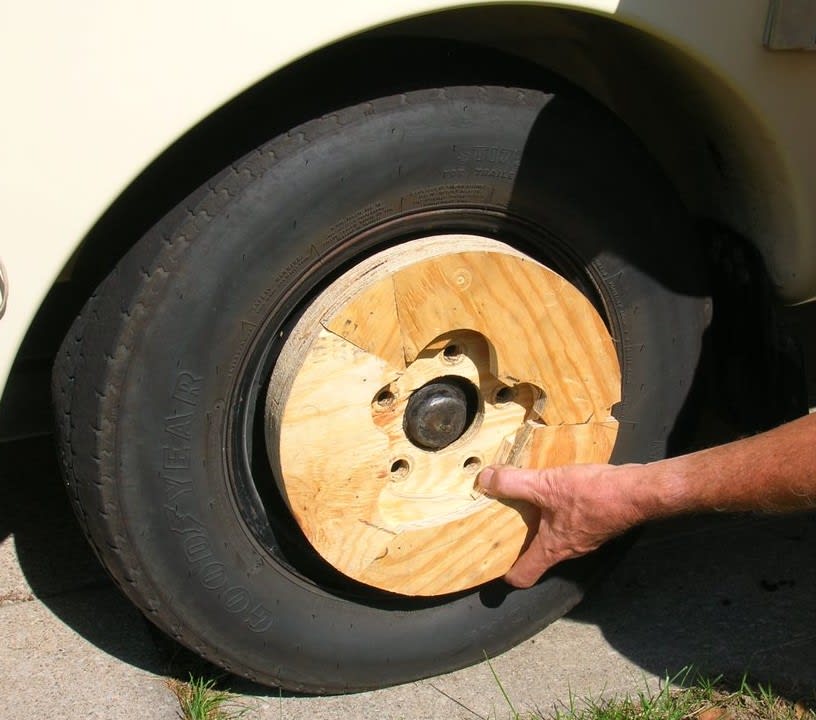
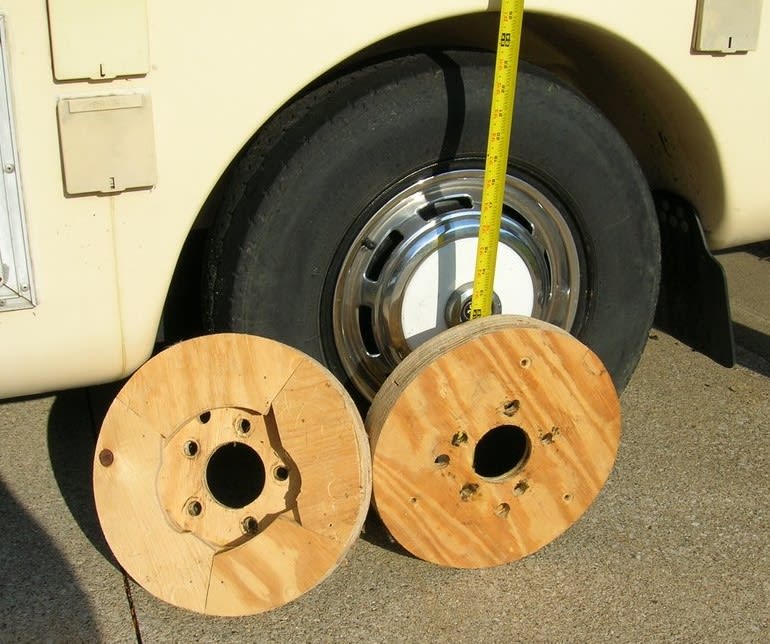
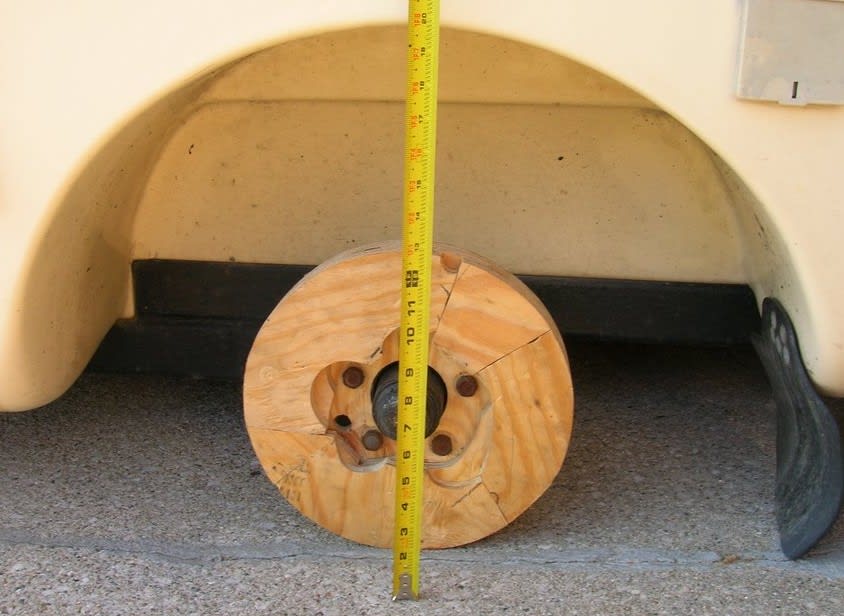
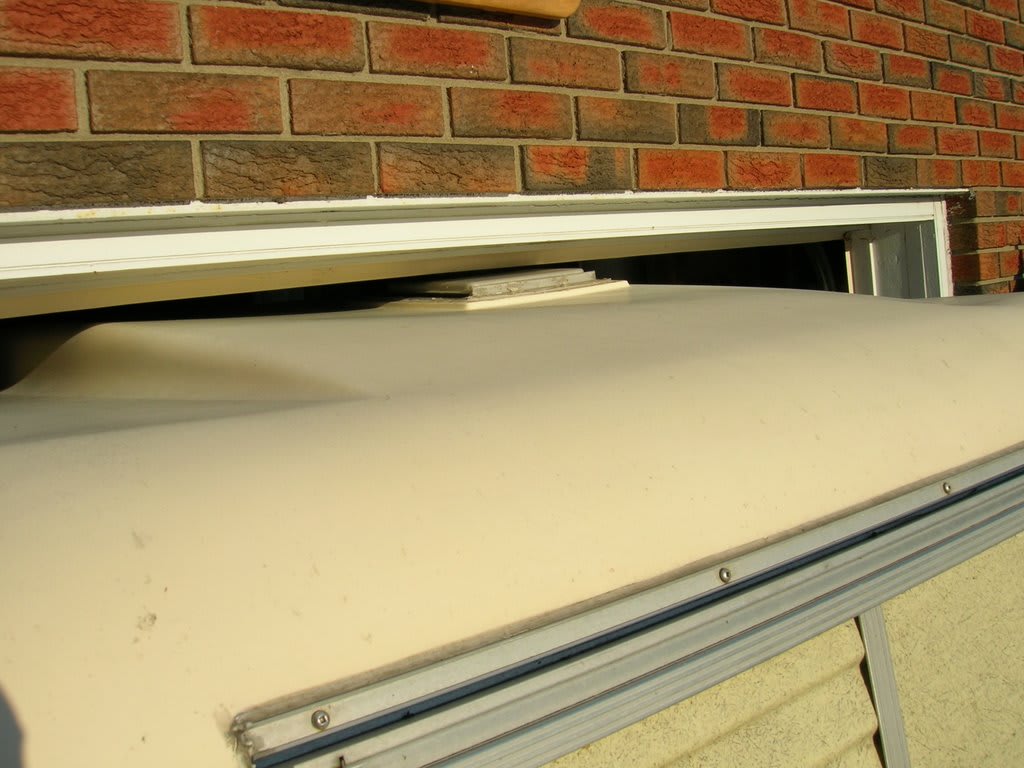
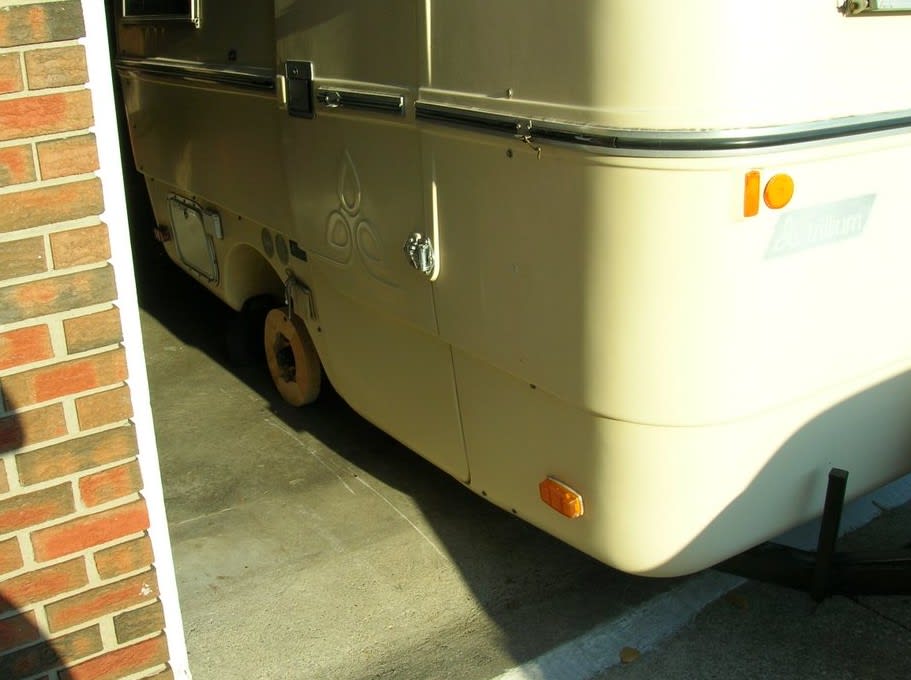
These are short plywood wheels I made to get our 1975 Trillium Trailer into the garage for winter storage — our trailer roof is slightly higher than the garage door allows. Obviously I use these wheels for storage, not for towing! The picture below shows a 12″ diameter plywood wheel made of 3 × 5/8″ plywood, fortified with carpenter's glue and screws. If you want to make your own shorter wheels, follow these instructions:
How to make the wheels
- Jack up your trailer and remove the wheel bolts. There are 5 bolts.
- Remove the wheels (tires).
- Take a piece of paper and trace where the bolt holes are on the flange. Also trace the center hub.
- Make a circle on the plywood using a protractor. My wheels are 12″ diameter.
- Trace your template onto the plywood, making sure it's centered.
- The five holes should be about 11/16″ each.
- The center hub should be about 2 ¾″.
- Drill out the holes and cut out the center hub.
- Glue on two more pieces of plywood for support — but you MUST have a 6″ center hole for these, because the bolts should only go through the first plywood. Attach all pieces before cutting the outer circle so all three pieces are the same.
- After gluing, use clamps and let the glue set for a good day. Reinforce the 3 pieces with wood screws — this prevents the plywood from separating if you store the trailer in a damp location.
- After gluing is complete, cut the 12″ diameter using a band saw or jig saw.
- Once the wheel is made, bolt it onto the trailer hub.
- Do the same for the other shorter wheel and you're done!
Interior Shelving (front & rear)
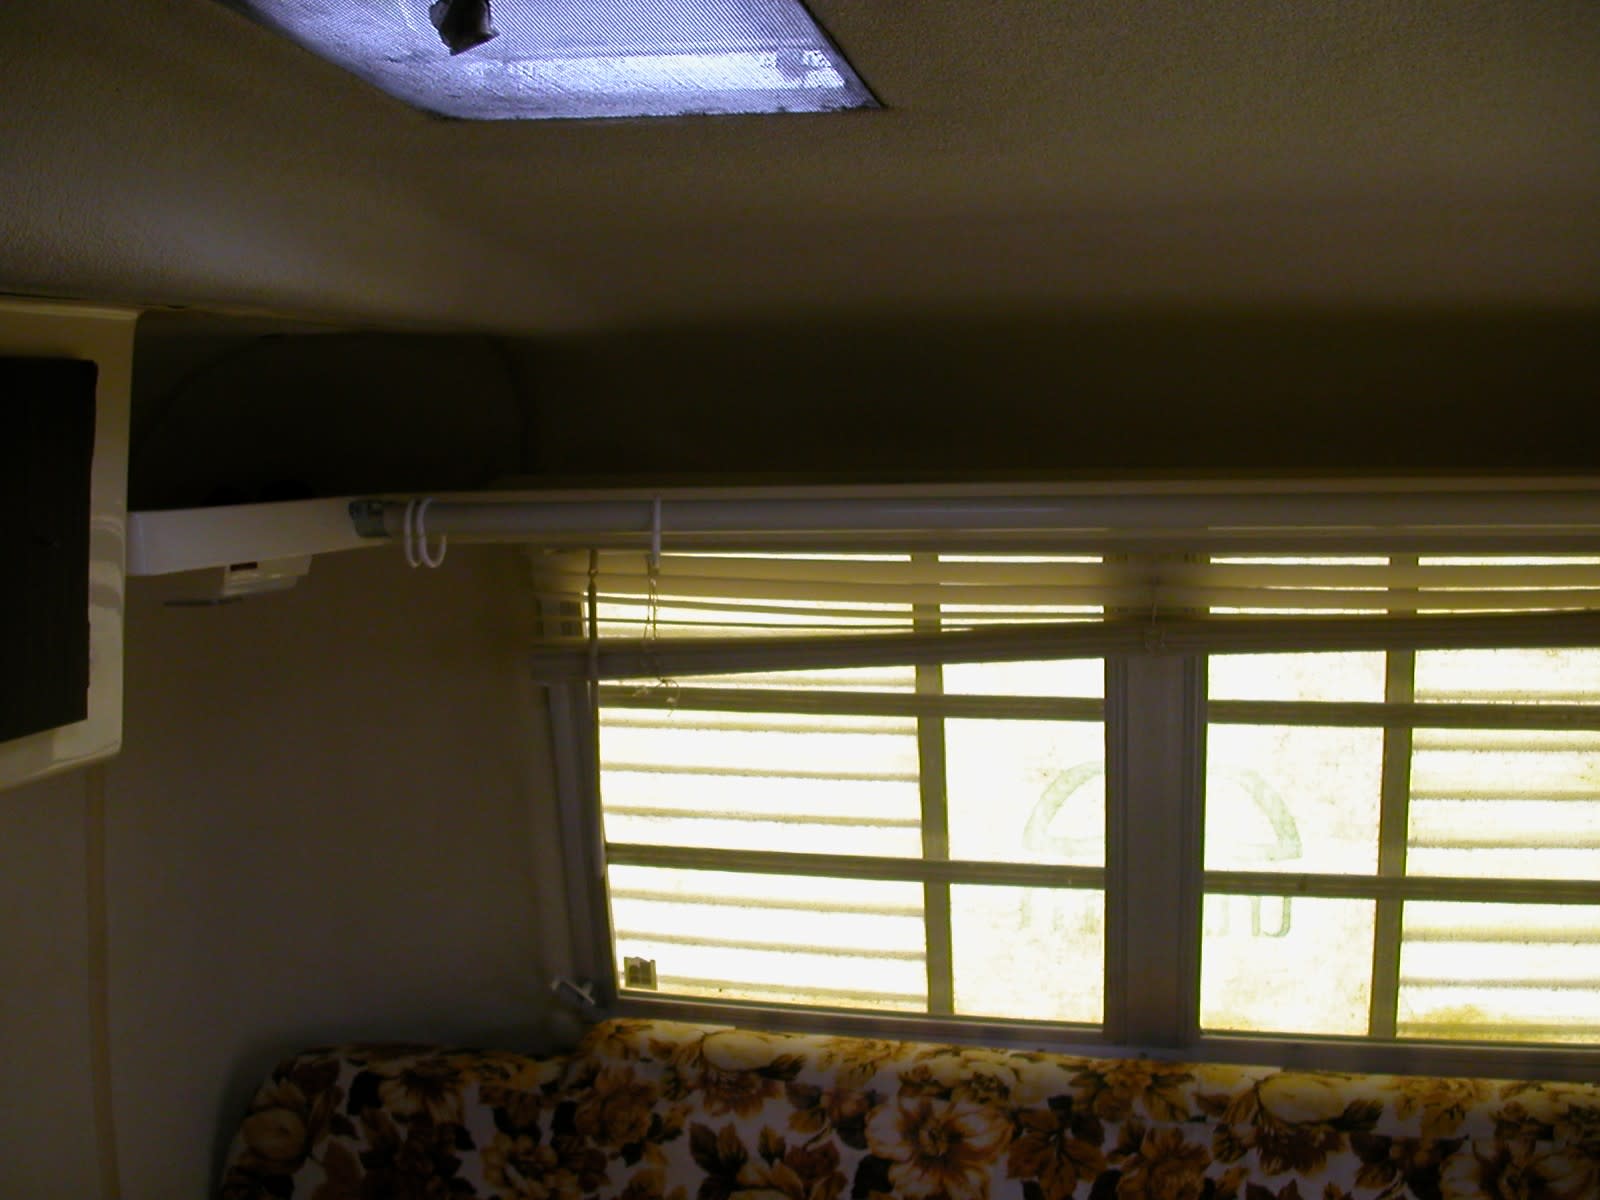
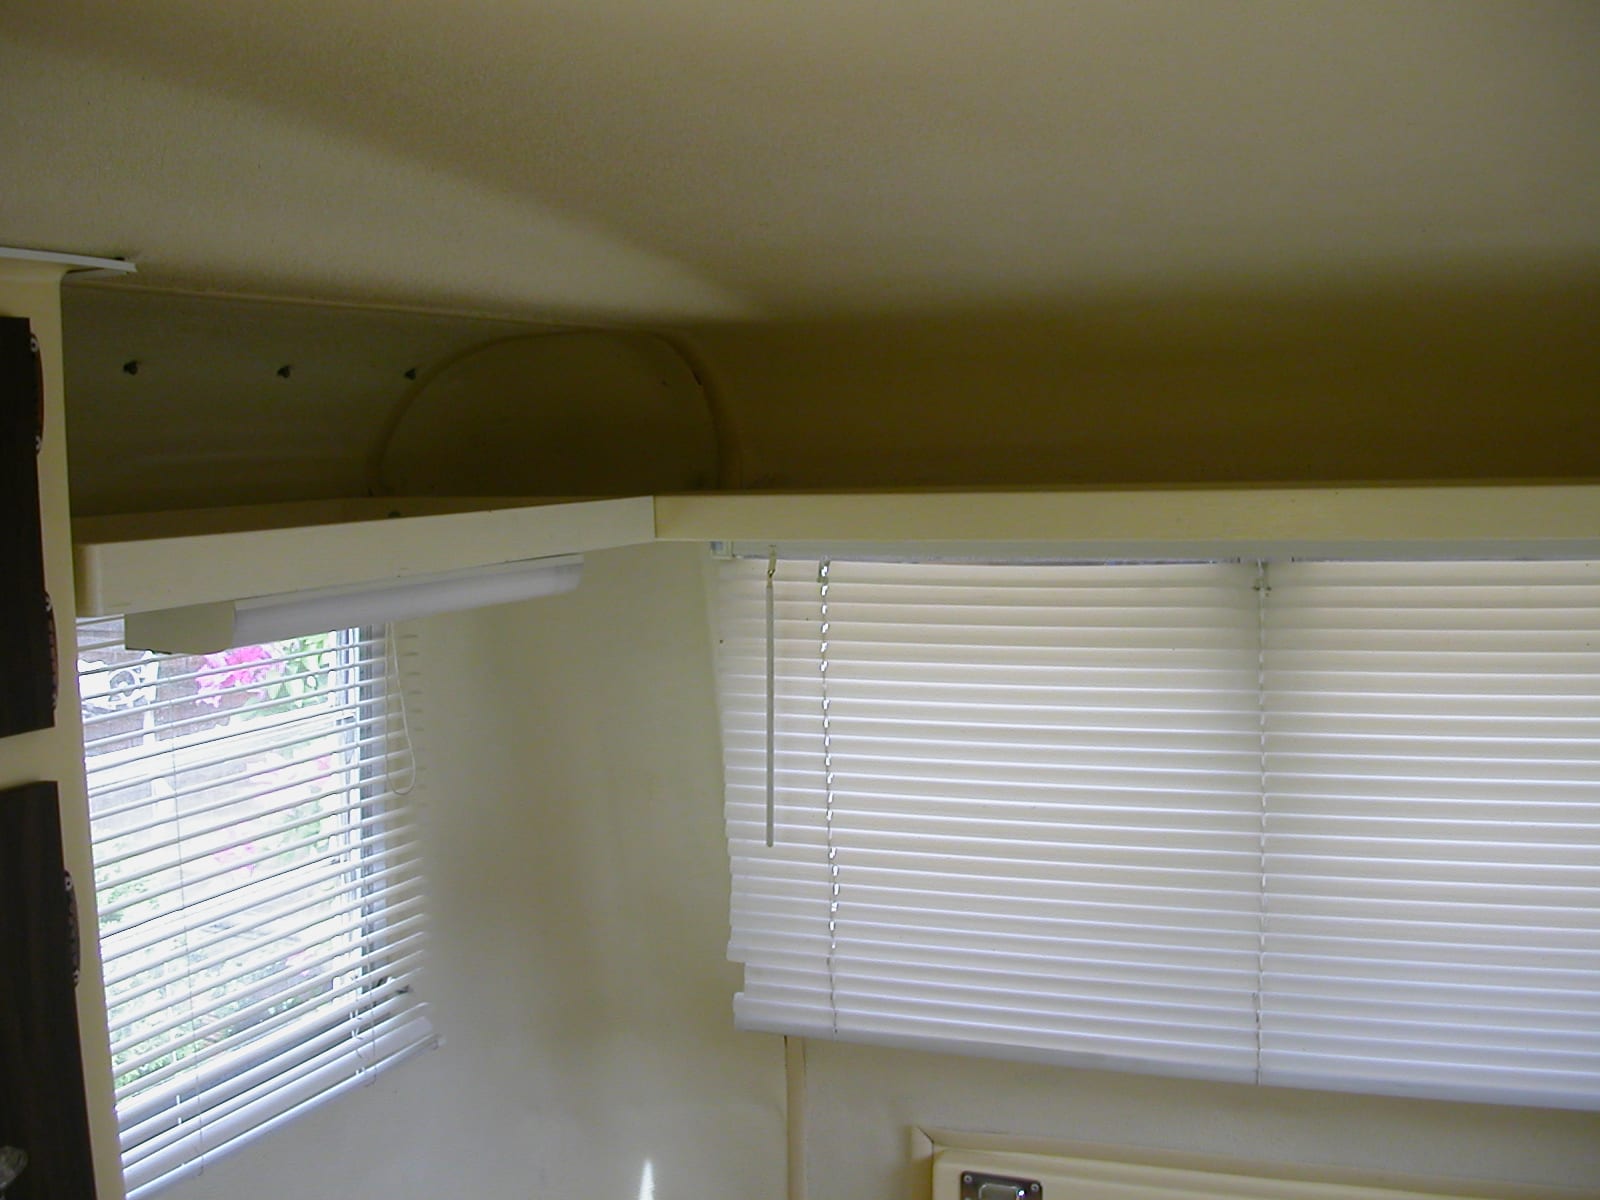
Shelving is useful to hold towels, books & magazines, or whatever you fancy. They're made of ¼″ plywood with a 2″ border trim around the edge. It's tricky to fit the shelf into the rounded contour of the trailer, so I made a cardboard template before I began to cut any wood. The shelf is screwed in place by 90° brackets.
If you have any questions or would like to know more, find me on the Boler website and contact me, “Gord100”.
12V Water Pump for Faucet
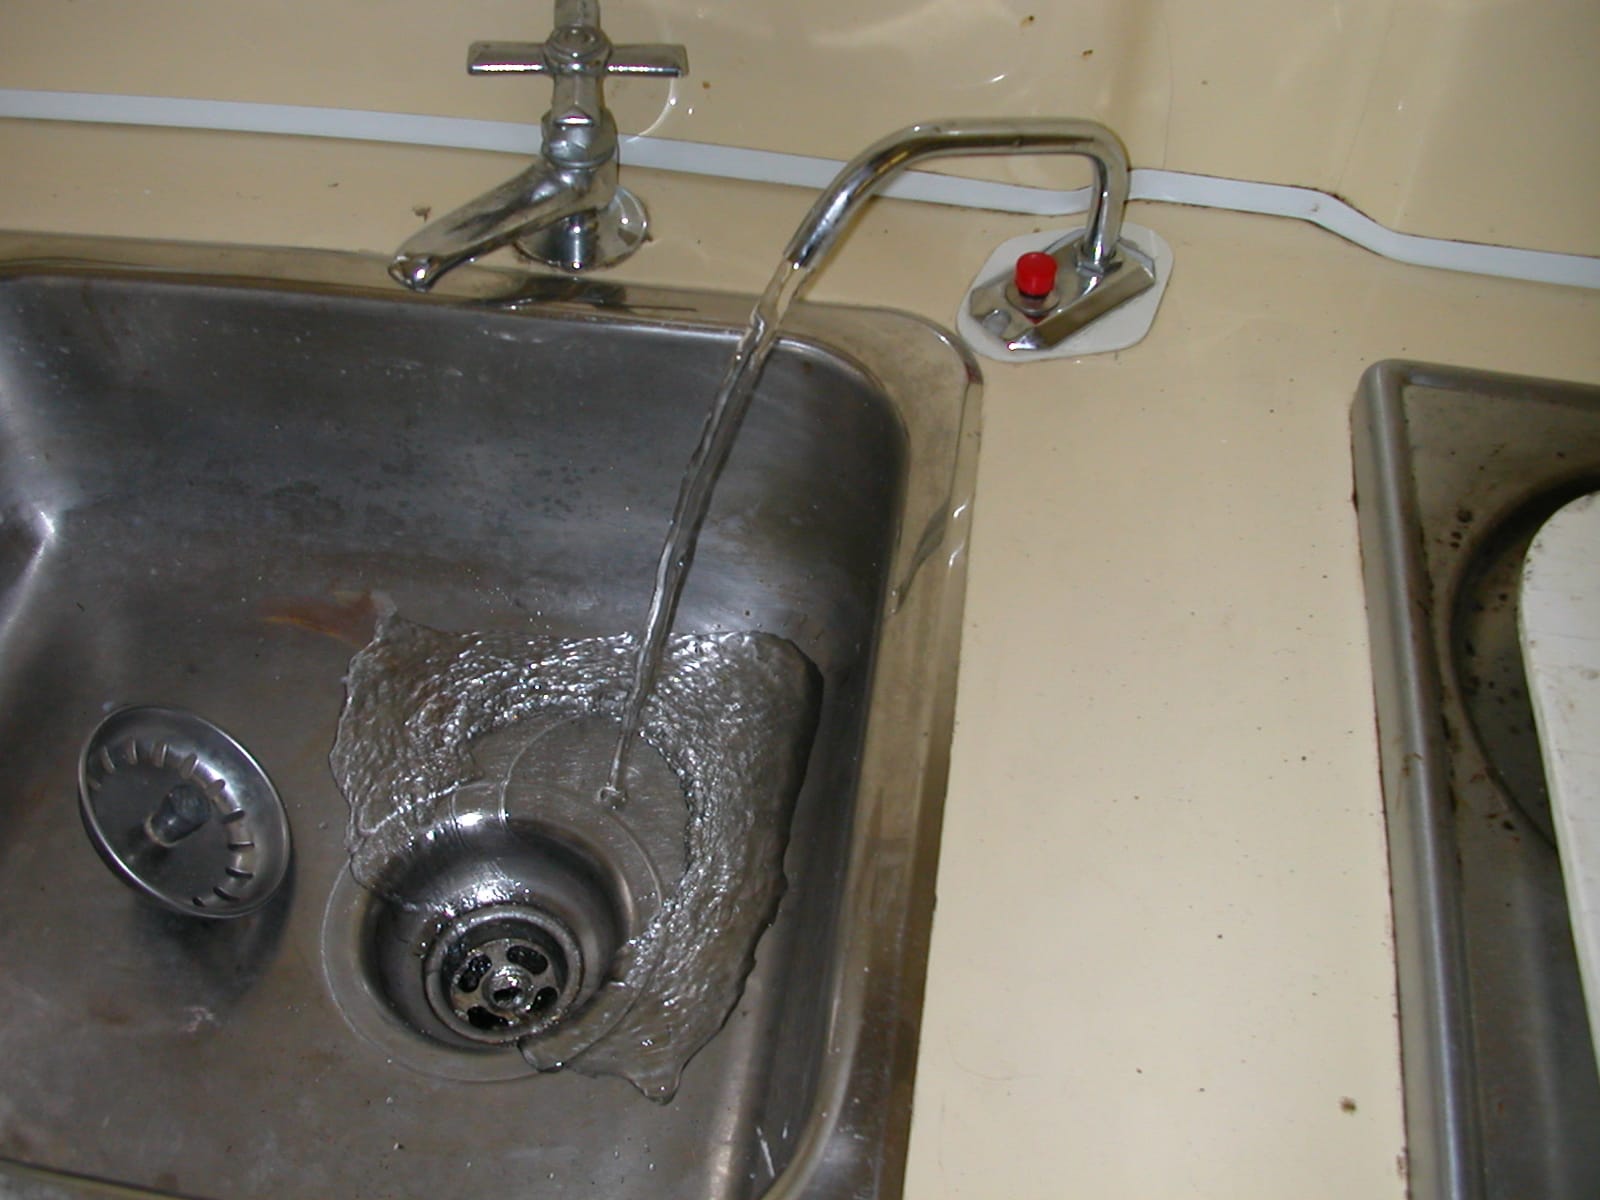
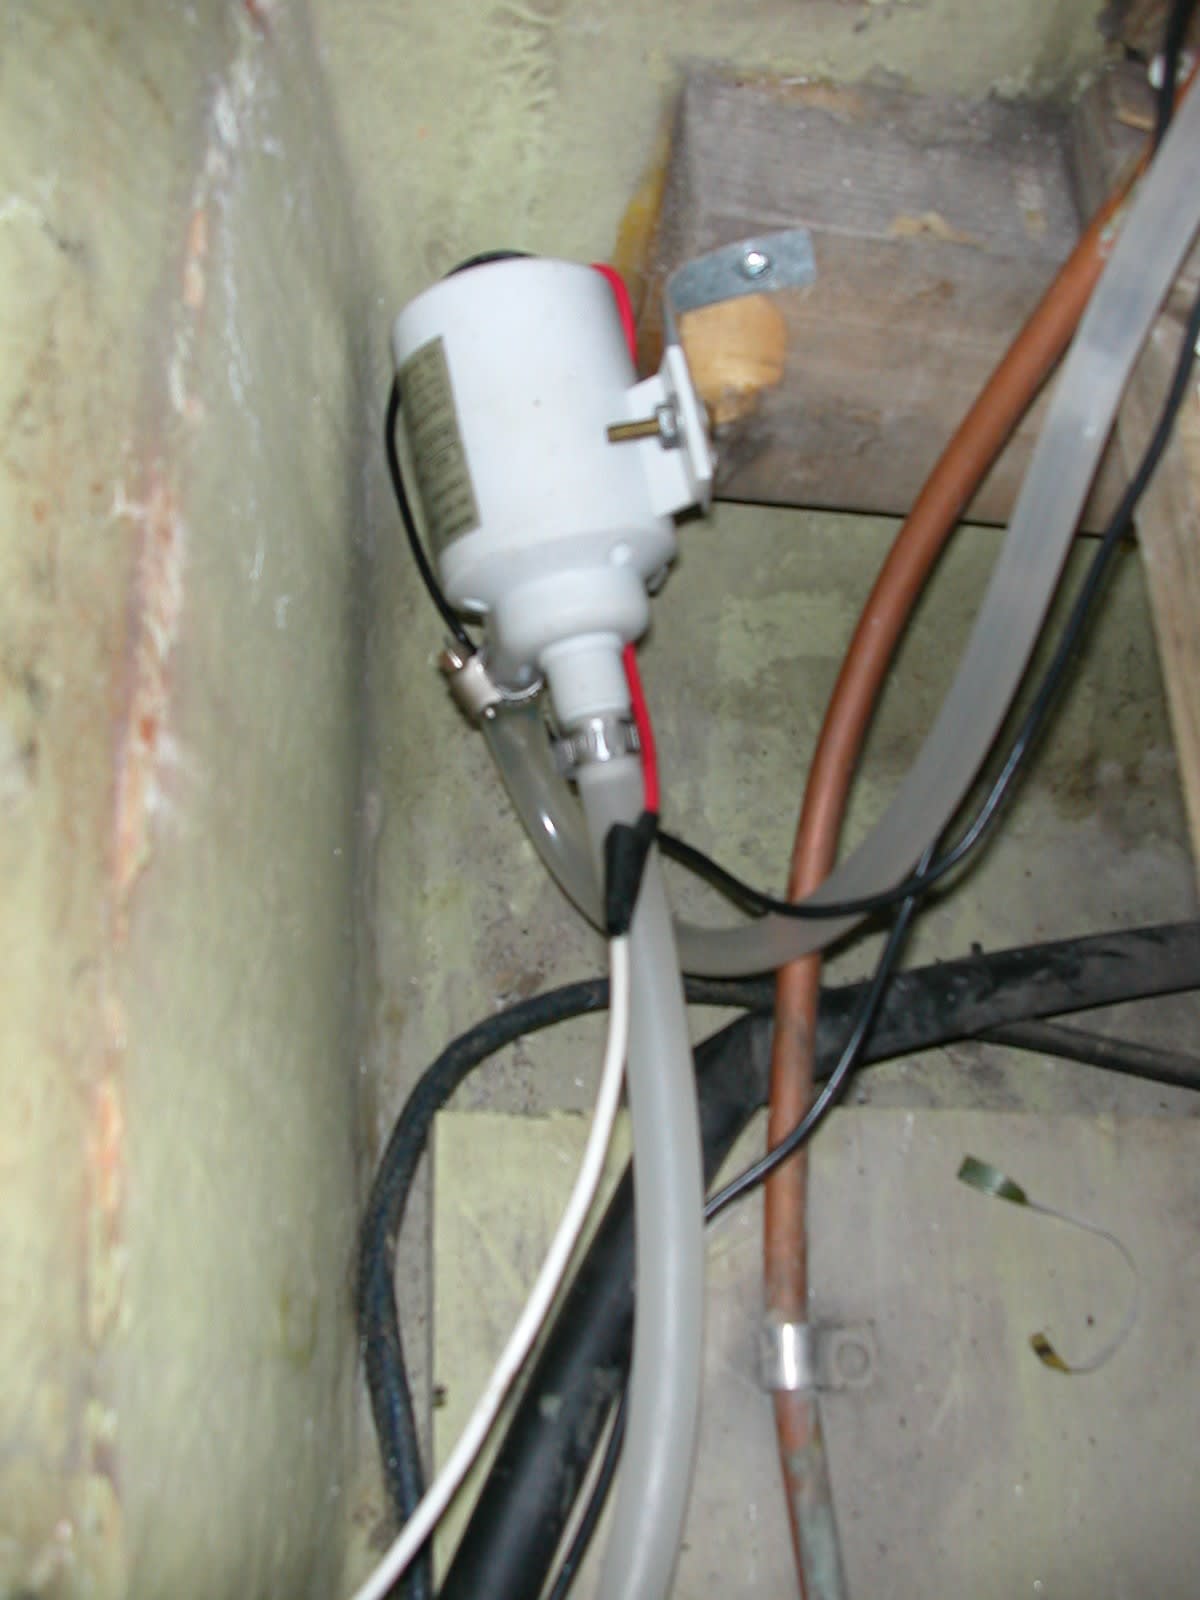
Here we have a 12 volt electric pump for the trailer sink! The water comes from our water tank, which is stored under the rear seat (bed). You can buy a kit and get the pump, faucet and switch from your local trailer accessories store.
If you have any questions or would like to know more, find me on the Boler website and contact me, “Gord100”.
Custom Rear Platform / Bike Rack
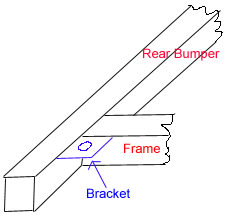
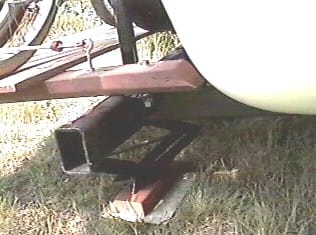
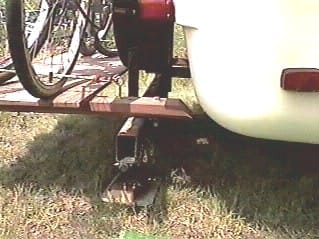
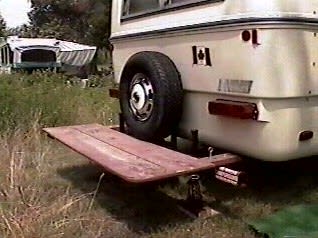
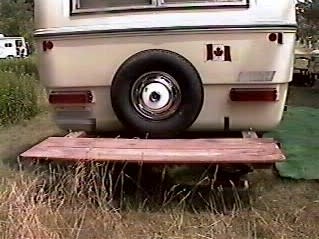
If you're pulling a Trillium Trailer and want to bring your bicycles, there's no convenient way unless you have some way to carry them. I made this simple wooden platform that attaches to the back bumper of the trailer. I also use it to keep camping equipment off the damp/wet ground — wood, boxes, chairs, etc. Here are 8 pictures I took the summer of 2001, each with a small description.
If you have any questions or would like to know more, find me on the Boler website and contact me, “Gord100”.
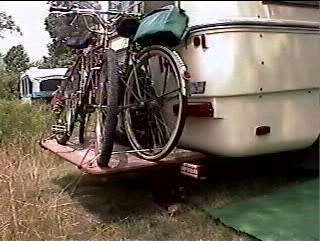
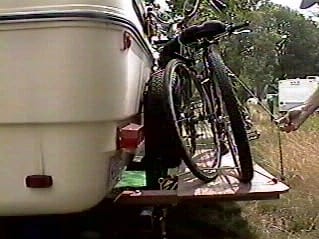
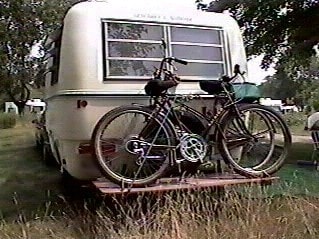
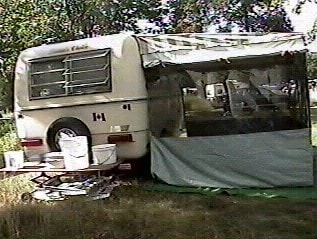
My Scissor Jacks
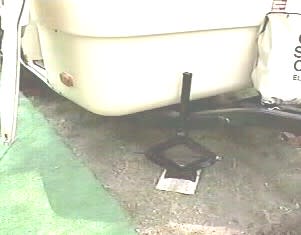
I've made some updates to my rear scissor jacks and can finally post them on this website. This is very handy when travelling — you don't have to store the jacks in the trailer because the jack is closed when driving. It's very easy to set up and level the trailer when camping. Scissor jacks are an easy way to keep your trailer level and support all four corners no matter what terrain you're camping on. I found my four scissor jacks at flea markets for a couple of dollars each — they were originally used for the Chrysler K car. Here are 3 pictures I took the summer of 2001, each with a small description.
If you have any questions or would like to know more, find me on the Boler website and contact me, “Gord100”.
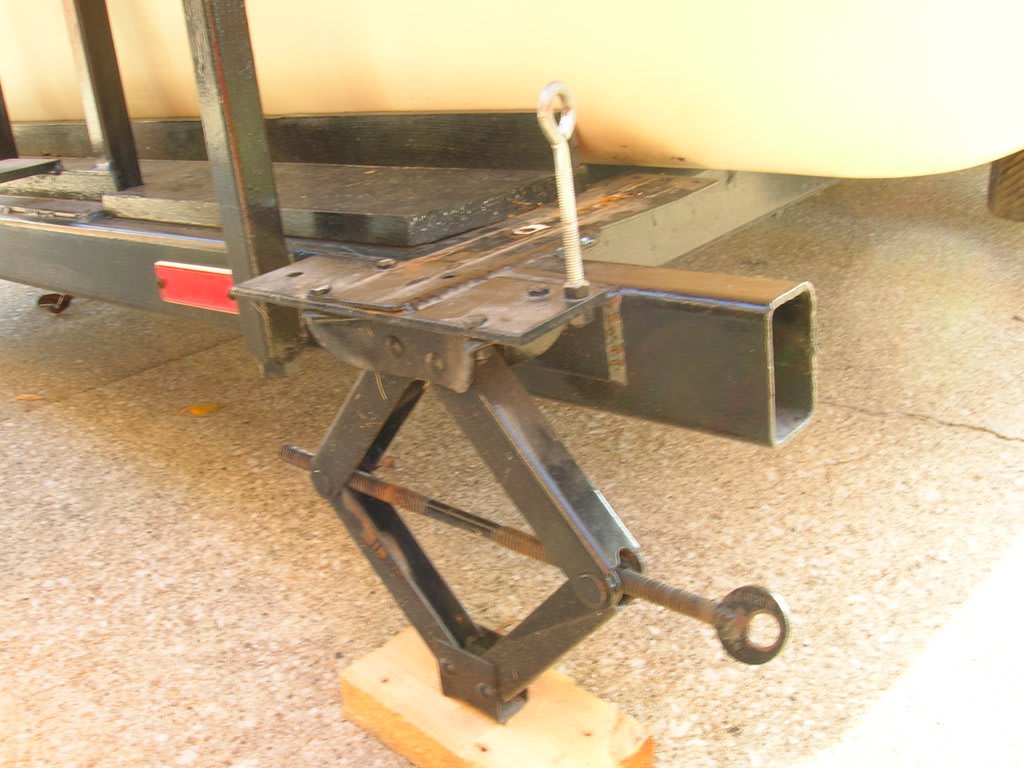
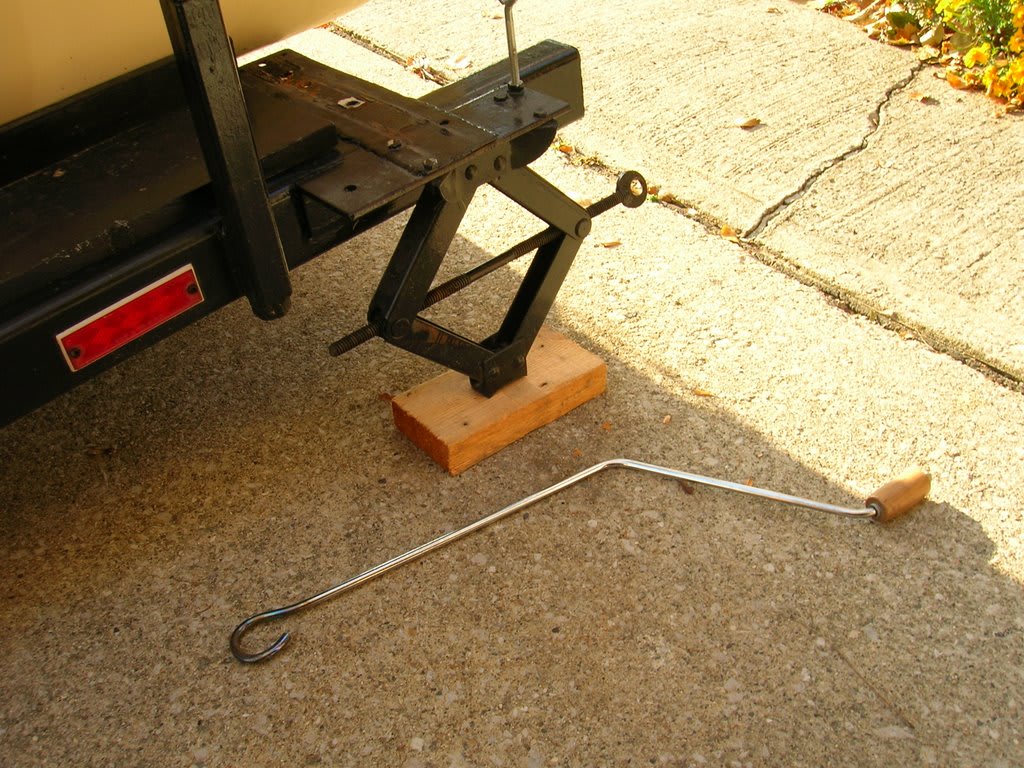
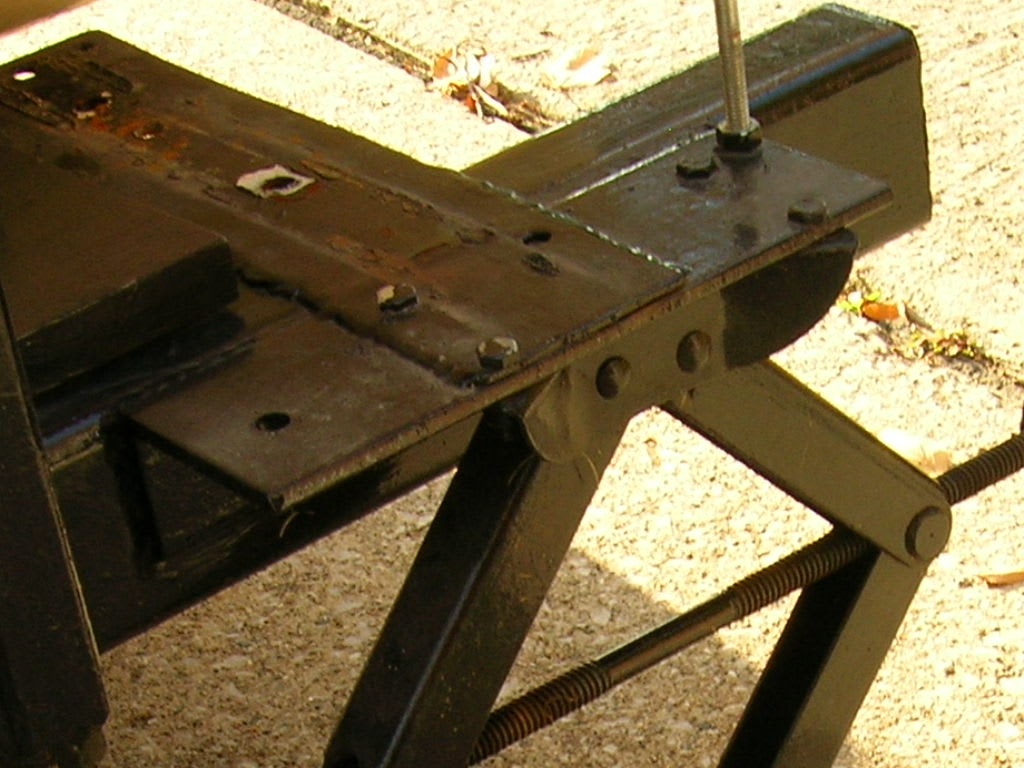
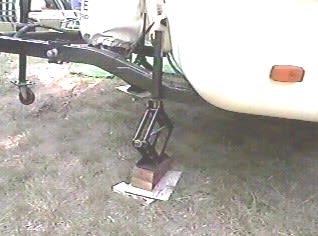
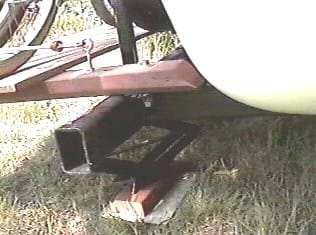
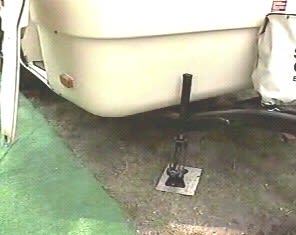
Add-A-Room Factory Option
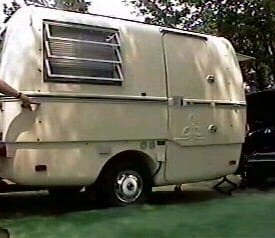
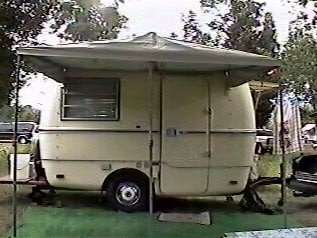
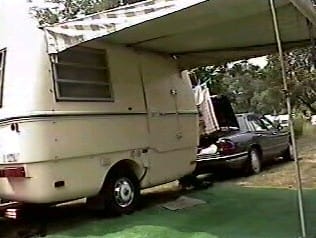
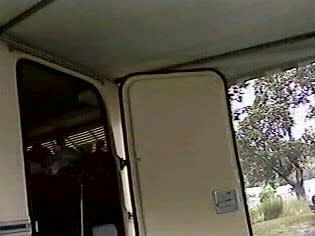
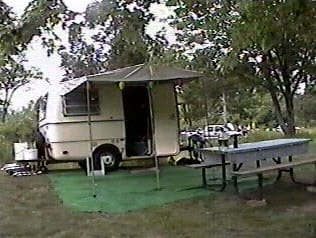
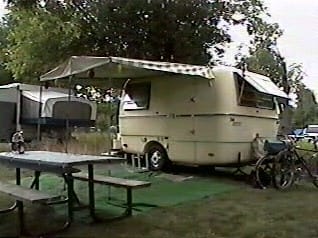
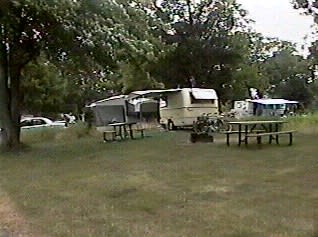
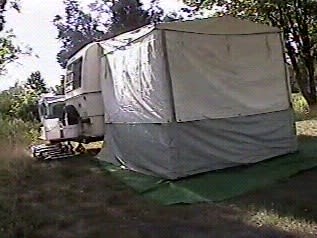
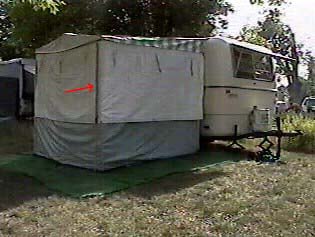
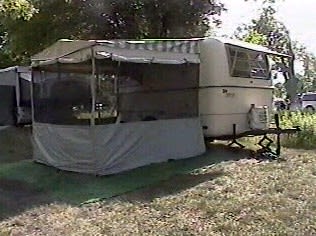
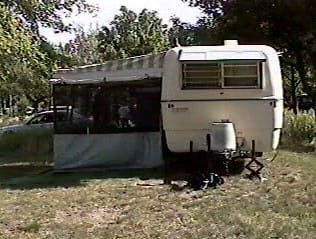
People have asked to see an original Trillium Trailer Add-A-Room and the canopy that comes with it. The canopy has three spring-loaded bars across the top and three poles which support it, so no support cables are required — keeping you from tripping over cables. It's very easy to put up. The Add-A-Room walls are zippered along the top, attaching them to the canopy. You'll notice there are snaps along the side of the trailer, which fasten the canopy walls securely to the trailer. The walls have screen windows with outer roll-up curtains made of canvas. We find this canopy handy when camping for any extended length of time — we can put the picnic table and lawn chairs in there; it also reduces the wind and keeps out flies and rain. Here are 12 pictures I took the summer of 2001, each with a small description.
If you have any questions or would like to know more, find me on the Boler website and contact me, “Gord100”.
More Storage
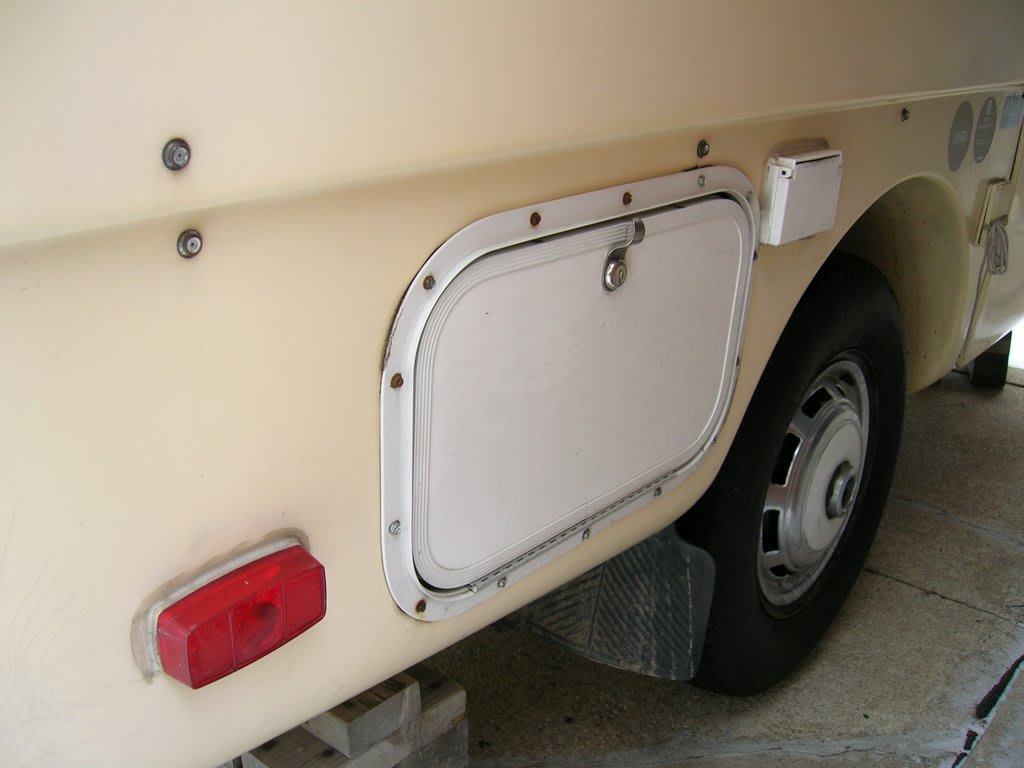
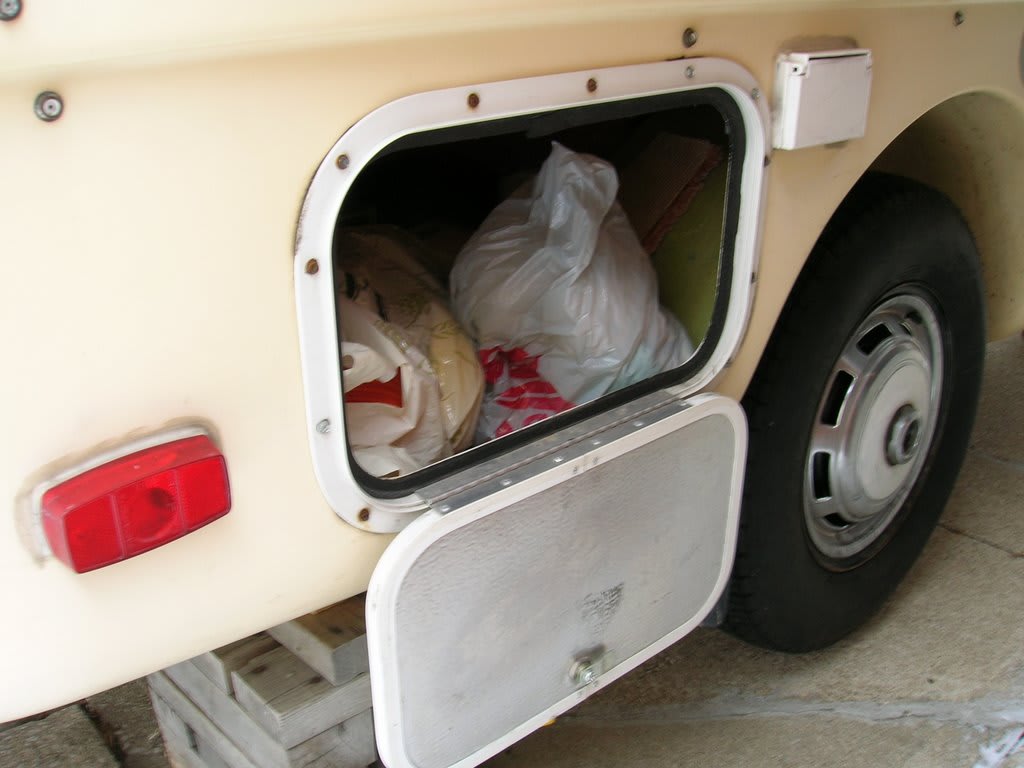
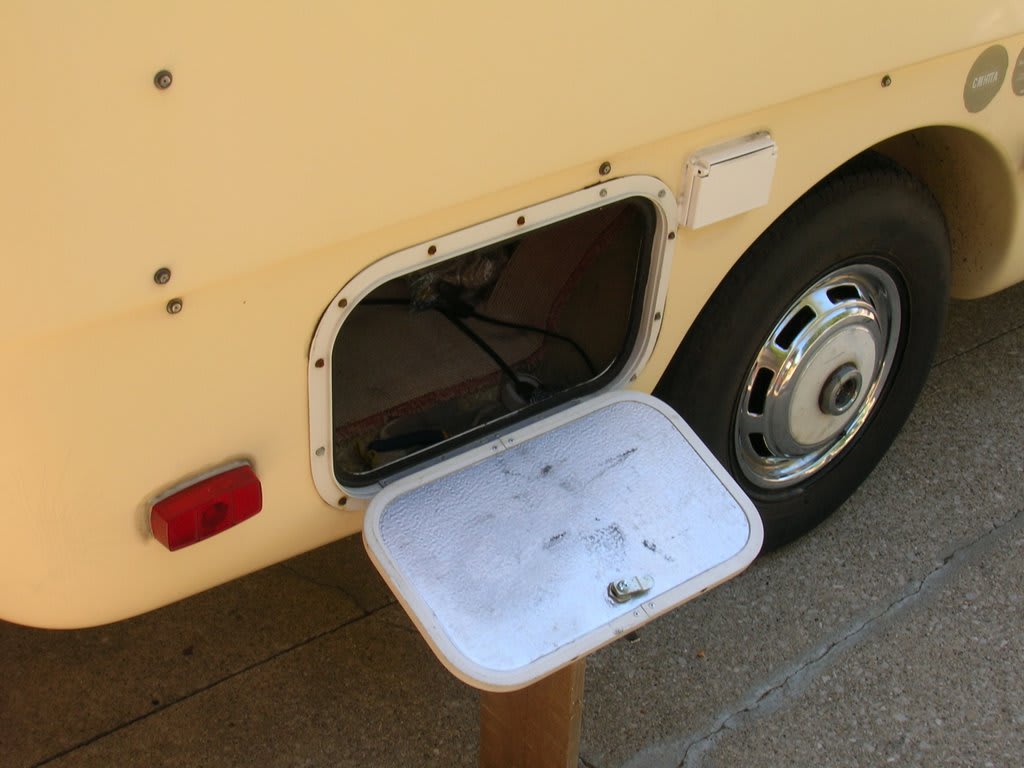
This lets you access the storage area under the back seat in the trailer. I still have my water tank installed on the other side, so I only put a door on the one side. This is very useful — you don't have to remove the back seat or bed to quickly use this storage area. Outside dimensions: 17.5″ × 11.5″. Inside dimensions: 14.5″ × 8.5″. You can buy these at trailer retail outlets (I bought this from someone who renovates trailers). I recommend the hinge be at the bottom. Try to install the door on a relatively flat area. To attach the door, pre-drill the holes and use self-tapping stainless steel screws. Use a sealant to keep the rain out.
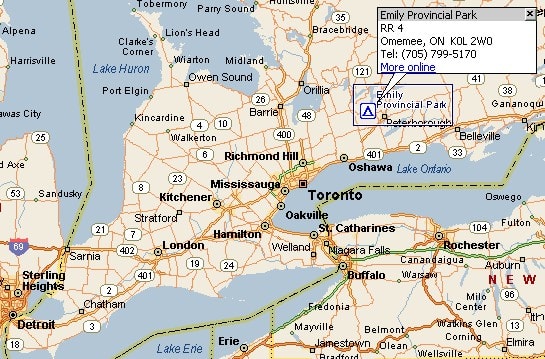
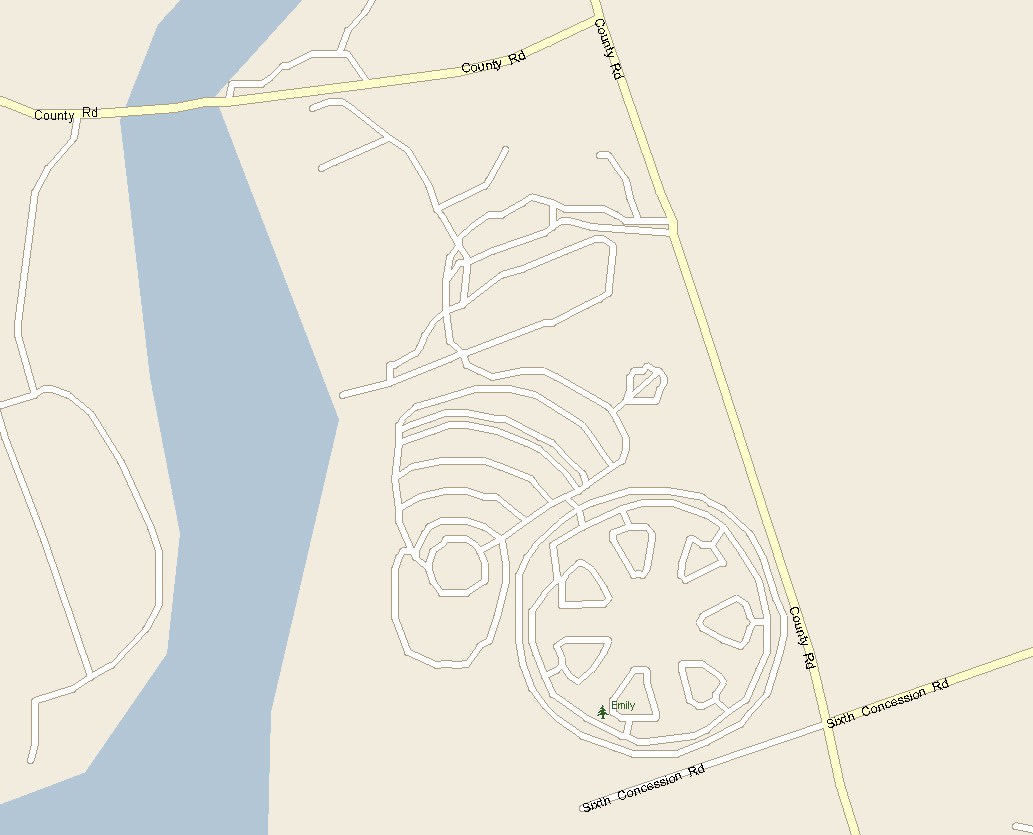
Emily Provincial Park 2002 Reunion
Cheers! Rick Myers and Fred Taylor organized this event. I took video footage of our time there. Here's the link to Emily's website: ontarioparks.com/park/emily


Contact
Talk to Gord100.
Questions about the trailer or one of the projects on this page? Leave your name and a note — it goes straight to my inbox (privately) and I'll get back to you as soon as I can.
Privacy policy
Last changed 19 September 2026.
This page covers one site: gord100.nodejavascript.com, the notes and photographs from restoring a 1970s Trillium trailer. It is written from what the code actually does, because a policy the site does not keep to is worse than none.
What the site collects
Nothing is sent to a server. Every page here is a plain file; there is no account, no sign-in, no form, and nothing you do is recorded anywhere.
The photographs are served from a picture service that logs its own requests in the ordinary way any web server does. Nothing about you is added to them by this site.
Cookies
There is one optional cookie, and it is off unless you turn it on: Google Analytics, which records anonymous page views, which links people press and how far down a page they read.
Google's script is not in this page at all. It is added only if you allow it, so a visit that refuses makes no request to Google and receives no cookie — not "cookies disabled", never loaded. Your answer is remembered in your own browser's storage rather than in a cookie, because setting a cookie to record a cookie decision would be its own small joke.
You can change your answer at any time with Cookie settings in the footer.
Contact
Questions about this page, or about anything the site holds, can go to nodejavascript.com.
Changes
If what the site stores changes, this page changes on the same day and the date at the top of it moves.